Thursday, May 30, 2013

How to marble and embed with gel polish


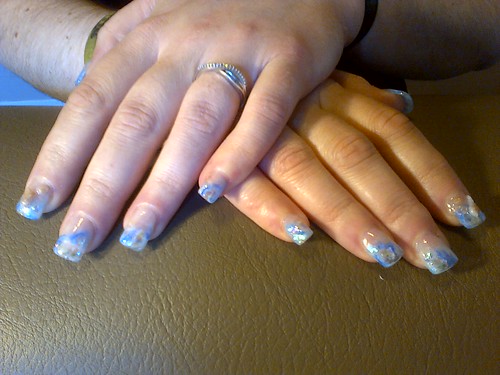
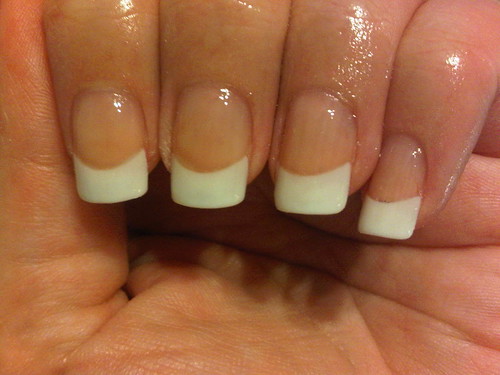
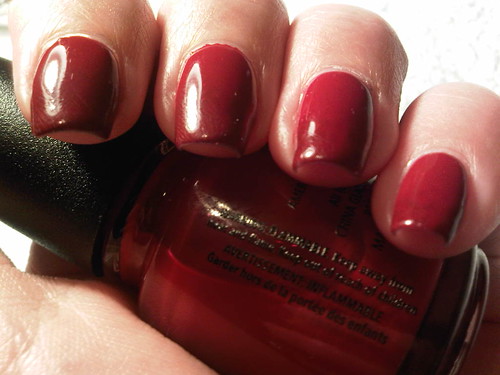
I'm going to assume you've read my soak off gel tutorial and/or you already know the basics.  Start with one coat of colour and cure.


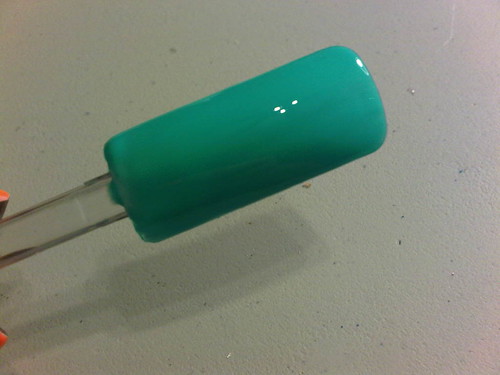
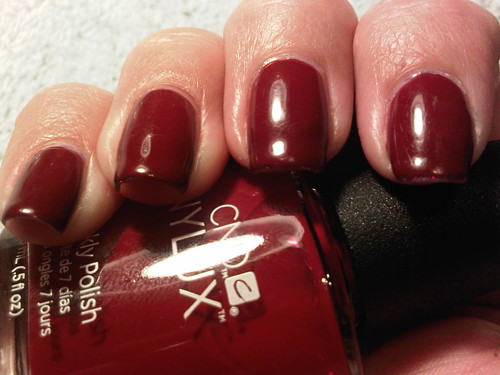
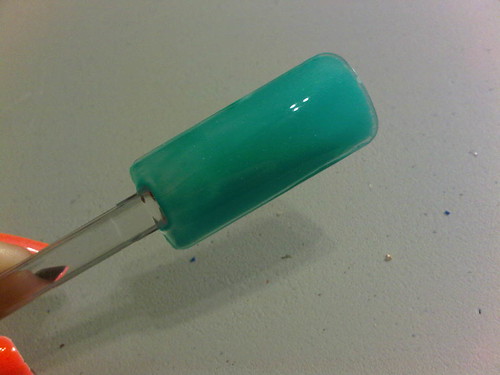
Add a second thin coat of colour - DO NOT CURE.


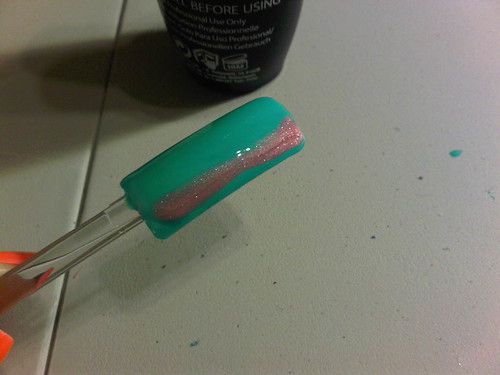
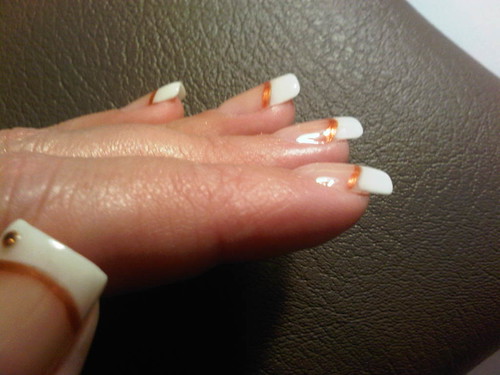
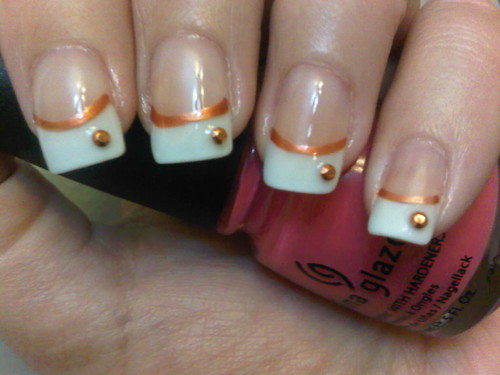
Draw a line down one side with your second colour, not too thin, not too thick.  Gel polish tends to run together so it's a bit of trial and error to get the right consistency.  Less is always better.  Do not cure yet!


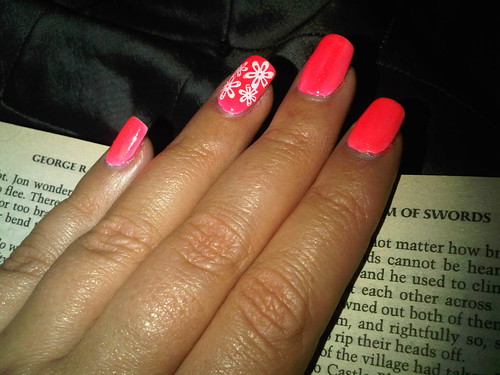
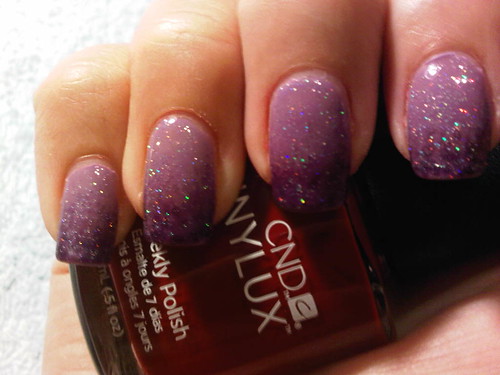
Add your second stripe adjacent to the first one.  I used a holographic glitter in clear coat here.  Adding a line of glitter in gel marbles really looks sharp.  Do not cure still!


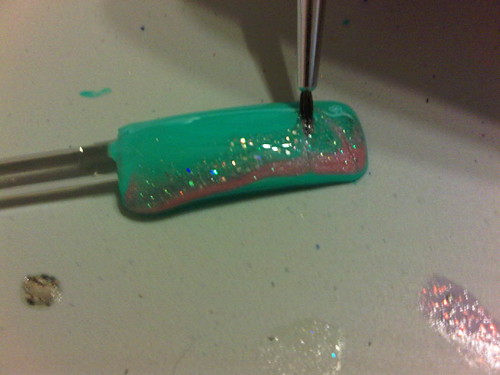
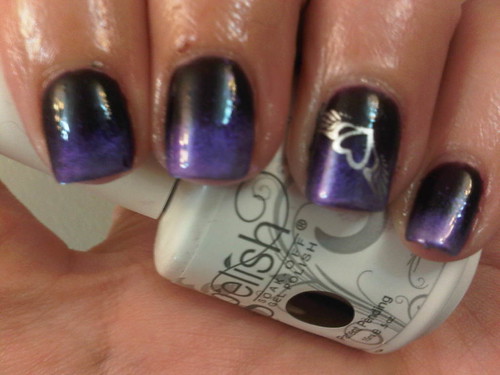
Take a liner brush and draw it through the polish from one side to the other horizontally.  Do this all the way down the nail.  I like to wipe the excess gel off my brush between strokes but you don't have to if you don't mind some of the colour at the edges.  The nice thing about gel polish is that you can go over your lines to define them or if you mess up you can wipe and start all over again.  Now you can cure it for 2 minutes.


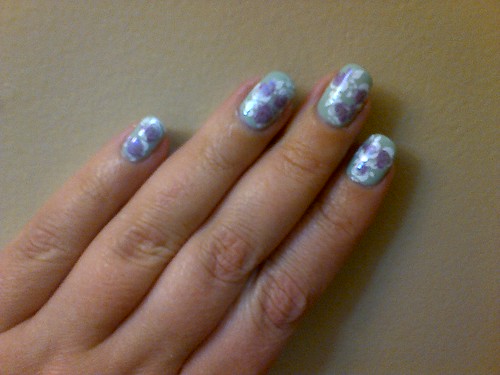
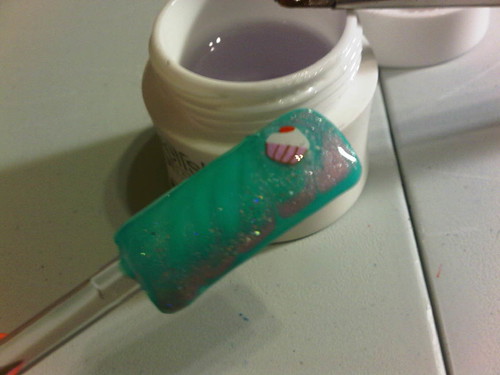
Now I'm going to embed a fimo slice in the nail.  I dabbed a tiny bit of Gelish Structure Gel to the back of my fimo to help it stick. (Note I did not remove the sticky layer)


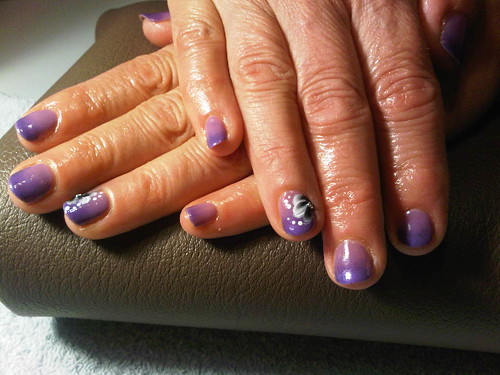
Add a healthy layer of Gelish Structure to the entire nail.  Top Coat will not work for this step as it is too thin and will run into your cuticles.  Structure can be applied thickly to cover imperfections.  Cure for 2 minutes.


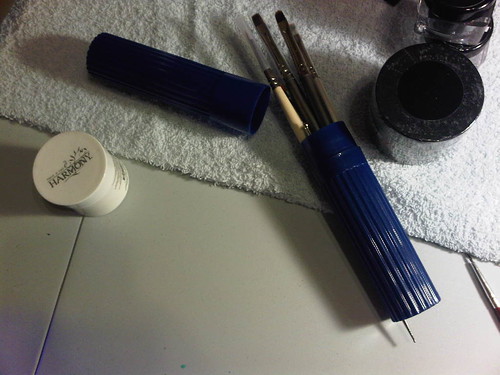
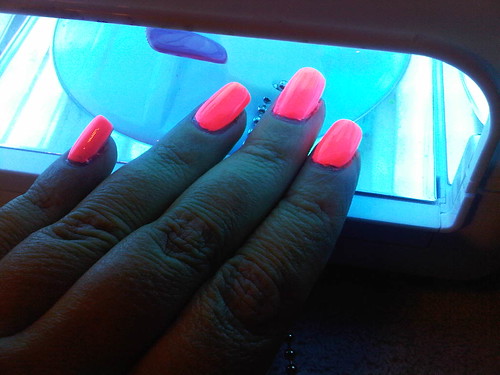
When you work with gels you really need to be careful that you don't expose your brushes to UV light.  Gel brushes should always be left with a bit of gel in them to keep them soft so if they're ever exposed to UV light they are destroyed, nothing can save them.  Here's a great tip for protecting your brushes - keep them stored in a dollar store travel toothbrush holder!  It's a handy little container for me to keep all my tech tools in when I go visit a client.


After the Structure coat has cured, wipe off the sticky layer with 99% Isopropyl Alcohol. 


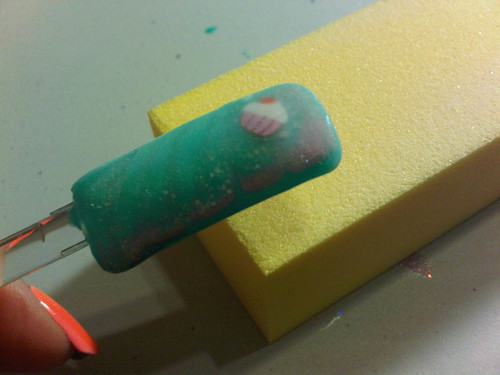
Using a 240 grit file, smooth out any bumps, ridges or imperfections to make your nail even and smooth.  Do this using a light touch, you don't want to remove any colour.


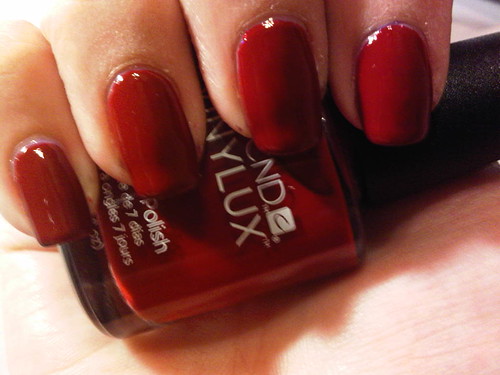
Add your top coat and cure for 2 minutes.


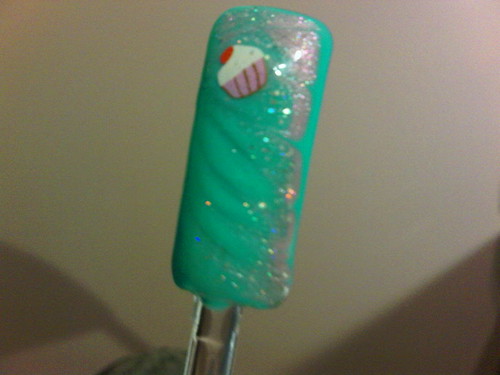
Wipe off your sticky layer and you're done!

Just as a quick aside, I made those fimo cupcakes myself.  I had many failed attempts before I got the hang of it and I have to say - just buy the pre-made fimo canes!  It's time consuming, finicky and expensive to do it yourself.

Later
P

Tuesday, May 28, 2013

Impossible


1. Impossible to photograph accurately
2. Impossible formula


China Glaze Shell-o 3 friggen coats!  And on a base of Billie French White (which in all honesty should have been 2 coats but whatever).  I know it's a fluorescent jelly but I have never seen such a thin China Glaze polish!  To it's credit though, with 4 coats of polish and Seche Vite top coat it did dry quickly.


Later that night when I was reading in bed I noticed the lighting made my nails glow and when I pulled my camera out it seemed like the most accurate colour-wise.  This polish glows like you're under fluorescent lights all the time - it's crazy.  Unfortunately it's such a pain to work with that it's really not practical to use on clients.  I bought the bright pink one too so I think what I might try next is a base of white gel polish underneath...

Later
P

Friday, May 24, 2013

Random Nail Art


This is a base of Gelish Seafoam with stamped two-tone roses.  I used one my stamping plates - no idea which one, put a dab of purple in the middle and then surrounded it with white before scraping and stamping.


A couple of days later I decided to change it up with some dotting and stripes.  This is all done with regular nail polish over Gelish.  No your eyes aren't deceiving you, I really wore rounded nails for a few weeks and I actually liked them.


This was just some nail art I added after doing my third fill with Akzentz Options gel.  I just dabbed on some glitter and lined it with a black striping brush.


This is Shellac Lilac Longing with some purple eyeshadow faded in at the tips and then some hand painted one-stroke nail art as an accent.


And finally this is a set of Akzentz Classic Gel extensions.  I used a couple of Gelcolors and marbled them together and then added some iridescent glitter chips, topped off with (an impossible to see) acrylic molded seashell as an accent.  This photo makes me so angry that my camera sucks because this set looked pretty cool.

Later
P

Wednesday, May 22, 2013

Busy with gel polishes

Just a few random gel polish manicures I did while I took a break from blogging:


This is Gelish Magneto in Drawn Together (purple) with the star magnet.  Oops forgot the cuticle oil before I took the photo.


This is Gelish Big City Siren with a little holographic star on the accent nail only.  Shitty camera doesn't show how awesomely sparkly this is.


OPI Gelcolor Lincoln Park After Dark with some paint powder scrubbed in.  Stamped with Pure Ice Silver Mercedes on the accent nail.  LPAD is probably my most used gel polish, there's so much you can do with it.  Something I've noticed in using the powders on gel polish - they don't last as long.  They tend to sort of 'rub off' the edges.  The effect is totally worth it though.


This is Shellac Lilac Longing (2 coats) with some Gelish Night Reflection sponged on the tips and a coat of Gelish Vegas Nights on top.  Forgot the darn cuticle oil again!  The fade effect is much more difficult to achieve with gel polish.

Something that's a bit of a controversy in the nail world is mixing your systems.  Not all gel polishes are alike and I would never mix brands together, however I've found that layering them has been fine.  Some companies go to extremes saying you can only use their brand of lamp etc.  I'm not going to buy 5 different lamps for each of my brands.  Other companies say you can use their top/base with any gel product. I've used several different combinations with success.  For me personally I love the Shellac Base Coat for it's easy removal.  The Top Coat is another story which is why I prefer the Gelish Top Coat for it's shine and durability.  I've also used OPI Top Coat and Gelish Top Coat over nail extensions for their high shine.  I'm a firm believer that the colour coats are all interchangeable however you should be aware that knock off brands can cause all sorts of problems including allergic reactions and near-impossible removal.  I myself purchased a chinese knock-off brand over a year ago that was extremely difficult to remove and I threw them all away.

  My colour selections has grown immensely and I ran out of colour sticks after my last haul.  Shellac is still my number one, followed closely by OPI Gelcolor and then Gelish.  The only drugstore brand I have is Red Carpet Manicure but I don't offer it to clients (even though it's supposedly re-bottled Gelish).  I have a couple of one-offs - IBD, EzFlow and LeChat but only because the colours weren't available in the other brands.  The old cheap knock-offs I bought when I didn't know any better have been tossed out.  My local nail supply carries Entity One as well which has a huge colour selection and I may try out a couple next time I pop in.  I still think gel polish is the greatest thing since the internet! :)

Later
P

Monday, May 20, 2013

Practice makes perfect

Since I have a full time day job I don't get as much practice as I'd like doing extensions.  I've really only done one set to date for a paying client, the rest have all been freebies.  But if I want paying clients I need to keep my skills up, which are far from perfect anyways.


Sometimes I'm left with no choice but to practice on myself.  Which is frustrating because I clearly have no problems growing and maintaining my natural nails.  This is a set of gel extensions I did back in January where I first noticed a real improvement in my skills.


One of the first things I struggled with was fitting the right tip size.  I can really notice it in the first few photos I did.  The shape of the nail bed is something I still need practice on but I've definitely improved.  The pointer finger here has a nice shape although I think it makes the nail look noticeably fake.


This set followed the shape of my natural nails quite closely as the free edge grows fairly straight out rather than curve like the shape of most nail extensions.  I also made them quite thin and used my favourite new brand of gels - Akzentz Options.  I'm also pretty lucky that my nails have a naturally high C-curve so they are a dream to apply extensions to.  Most people tend to have flatter or wider nails.


The Akzentz Options gels are a soak off gel product.  Removal is not as simple as Shellac or gel polish but they don't need to be buffed off like hard gels.  However because of this, they are more of a temporary extension.  In the area I live in it works well because most people don't want to wear extensions for a long period of time.  Like any type of extensions the better they are cared for, the longer they will last.

These are nails I wore the first week of my new job.  The job is going well so far, I'm happy with it.  In fact I went to work for a direct competitor so it's like I just changed locations only :)

Later
P

Friday, May 17, 2013

Vinylux

So the new buzz product right now is CND Vinylux.  It's a regular polish that claims to last 7 days.  Not 'UP TO' 7 days, the top coat clearly states on the box 'lasts 7 days without chipping'.  There is no UV light required with this polish and it comes off with regular polish remover.


I found it at my local CND authorized nail supply on launch day.  I think it's supposed to retail for $9.95 US.  Many of the colours match Shellac so I purchased 2 of the Shellac shades - Masquerade and Cake Pop and I also purchased Scarlet Letter, a nice dark red.  Unfortunately I now have to keep my clients in mind when purchasing colours.  The Weekly Top Coat was the same price as the polishes.  This system requires no base coat so of course I'm going to try the red one first to see if it stains right?


Please note that first of all, I am wearing Shellac underneath this so this may affect my wear since I usually do get extra wear out of my regular polish on Shellac.  So I painted 2 coats of Scarlet Letter and 1 coat of Vinylux Weekly Top Coat.  The Vinylux formula was really nice and almost a one coater.  I had doubts about the staining though when I applied the top coat and noticed some red on the brush.


And just for comparison I grabbed the closest colour in China Glaze - Red Satin and painted 2 coats on my other hand with a top coat of Seche Vite.  First impression is that they look pretty much identical although I did get a couple of small sheet marks on the China Glaze hand which is my non-dominant hand.


This is the China Glaze hand at 3 days.  No chips but the top coat has dulled quite a bit.


And the Vinylux hand at 3 days in.  There is more noticeable wear at the tips and scuff marks on the top coat.  Honestly after being used to the lasting high shine of gel polishes it was painful to continue to wear this scuffed up manicure for the rest of the week.  And although it looks like my manicure made it chip-free to day 3...


I got a tiny chip in my thumb nail.  To be fair, it did chip my Shellac underneath as well.  I did take extra care when doing Clients nails this week to not get any acetone or product on my manicure.  However if I hadn't been doing a test of this polish I would have taken it off at Day 3.


So here's the China Glaze hand at Day 7.  Not much going on here other than some cracking and dulling of the top coat.  The cracking is pretty typical for me with regular polish on Shellac since my natural nails are weak and bendy.


There really wasn't much tip wear to speak of either.  This is the typical sort of wear I get out of regular polish on top of Shellac.


And here's the Vinylux at Day 7.  No cracking like the China Glze but the polish is completely dull and looks dirty.


No chips here but I did have a problem with tip wear.  Unfortunately it's a bit difficult to see in my photos as I'm wearing a dark sparkly purple underneath.  In all fairness, this is my dominant hand so a little more wear and tear is expected.


So now for the removal.  As I previously mentioned I was wearing gel polish underneath.  This is the China Glaze hand - no staining, nothing unusual.


And here is the Vinylux after removal - no staining either.  I will say though, that the Vinylux came off slightly easier than the China Glaze which surprised me.  I used non-acetone remover for both hands.

So my overall thoughts on Vinylux:
I know I sorta cheated by wearing it over gel polish but I don't really have a choice.  The formula was really nice, the price was the same roughly as OPI.  Not having to use base coat was a bonus.  The dry time was better than traditional polish.  The wear didn't impress me.  The top coat dulled and scuffed so quickly.  Removal was a breeze.  I'd like to try this out over bare nails sometime.  Would I wear it again over gel polish? No unless I really loved the colour.  This will probably be a good choice for my clients who don't wear gel however I'm hesitant to offer it before I've tested it on bare nails.

And on the flip side if anyone was still curious or on the fence about gel polish, just take a look at those photos of my China Glaze hand!  It's absolutely worth it to invest in a gel manicure, even a clear or neutral colour and paint any colour in regular polish over top for extended wear and extra strength!  I think every girl should try out a gel manicure from a good professional Nail Tech who knows what they're doing and uses pro products only (there's so many garbage knock-offs out there, but that's a rant for another time).

Later
P

Wednesday, May 15, 2013

A couple of before and afters


Here's a set of nails before I applied extensions.


And here's the after shot - gel extensions with a glitter french and some nail art.  Unfortunately my camera couldn't quite capture the awesome glitter.  I liked this design quite a bit though.


Here are my Mom's (the severe nail biter's) nails.  After a couple of treatments I managed to help her grow out a bit of free edge.


And after a couple of months of extensions and proper care I managed to help her grow them enough that I was able to give her a Shellac French on her very own natural long nails!  It's a pretty awesome thing for a lifetime nail biter.  Her nails are still quite weak and she's had some breaks but she's been able to maintain them for the most part and now we exclusively do the gel polish on her every two weeks.  She's enjoying the Hologlam collection over her Shellac right now :)

Later
P

Monday, May 13, 2013

A set of gels and 2 fills

So just because I said I wasn't going to show you how to do extensions doesn't mean I'm not going to show them off ;)  And just one more thing about that topic, I'm absolutely willing to share my opinions and answer any questions you have about extensions in general, like the difference between acrylics/gels/soak offs, or product safety etc.


So here is the before pic of naked nails with a fresh manicure.


And here is the result.  We didn't realize until after I took the photo how the cuticle oil and lighting made it look like she was bleeding.  Anyways, I used clear tips and painted her tips in Gelish Amazon Flirt and then OPI Gelcolor Lincoln Park After Dark.


And here's 2 weeks later after her first fill.  I used OPI Gelcolor in Pink Flamenco and then added a little Konad flower and some dots.


And another 2 weeks and here's her second fill.  The colour is RCM After Party Playful stamped with an old fuschia L'Oreal polish and the pewter colour from the new China Glaze Hologlam collection.  I also rounded her nails quite a bit here. 

Unfortunately, she's a picker and she didn't make it to a third fill.  I'm finding a lot of people pick them off.  Please don't do that, it ruins your nails.  Most of the time when people say they don't get extensions because it ruins your nails they are wrong, they ruined their own friggen nails by picking and pulling them off.  And yes we Nail Techs can tell by the state of your nails that you've picked them off ;)

Later
P

Friday, May 10, 2013

Random soak offs

Now when I said my new camera was shitty I wasn't joking:


This is just a plain old french with gel polish on natural nails. I used OPI Alpine Snow for the tips.  I got a kick out of this because it really looks like I'm wearing extensions.


And then this one shortly after.  I used OPI Gelcolor in Pink Flamenco and then Lincoln Park After Dark.  Finished it off with a konad stamp.


And finally this was the one I got loads of compliments on and nobody could believe these were my natural nails.  I used a little bit of Shellac Silver Chrome in a diagonal french and then dabbed on Akzentz Options Aurora Sparkle in Silver.  I stamped with konad and did a little dotting as well.  I actually wore this for 3 weeks since the growth was hardly visible.

I have some post ideas rolling around in my head but I'm not sure if there is any interest.  Some feedback would be great as I'm not entirely sure that my posts on soak off gels are helpful or interesting.  I have probably 100 gel polishes now that I could swatch, I could do a gel marble tutorial, removal tutorial, embedding/layering tutorial, gel polish tips/tricks.  I am going to state up front though that I won't be doing any tutorials on nail extensions since I don't believe that it's something you should attempt without the proper training, and the available products for a non-professional are complete garbage so it's not even worth your time.  Soak off gels however are becoming more widely available and there's really minimal risk of damage other than the usual picking and peeling that people tend to do.  Besides, soak off gels are really what sparked my interest in becoming a certified Nail Tech.  I have a ton of knowledge on these products so feel free to ask or suggest anything you like.

Later
P