
Materials needed:
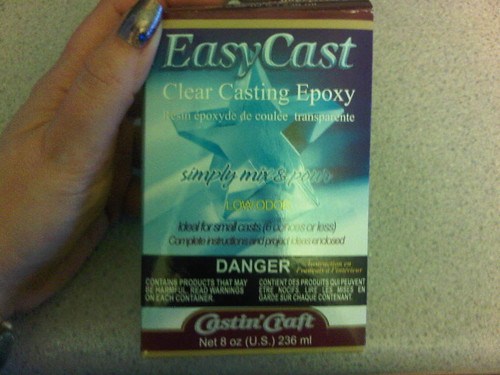
EasyCast found at Michael's craft store for around $30. Don't forget to print out your 40% off coupon when you go! This is supposedly the easiest casting resin to work with.

Jewelry mold found at some craft stores but I had to buy mine online for about $5. I bought the one pictured and one with 25 small round molds. This type of mold doesn't require 'mold release'. If you use a silicone mold, you will need the release agent.

Ring bases can also be found at craft stores but I also had to purchase these online. I found them for $.45 each at an online store.
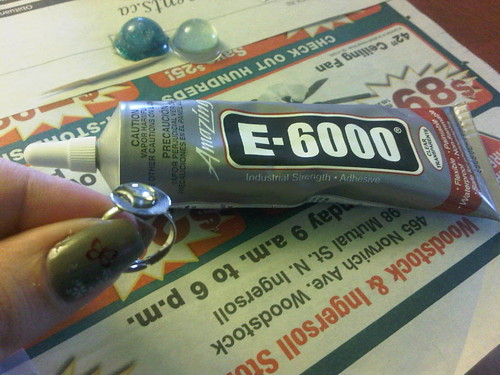
You will also need plastic cups and stir sticks/popsicle sticks, newspapers, a straw and glue. For the glue I used E-6000 which seems to be the glue of choice for resin jewelry, found at Michaels for about $6.
So I laid out newspapers on my table and followed the instructions in the EasyCast kit. You have to warm up the two bottles - I used a large bowl full of warm water and left them to sit for about 10 minutes.
Then you have to pour out equal portions of resin to hardener - I used plastic shooter glasses to measure. Pour them into a large plastic cup and stir for 2 minutes. Then you have to pour it into another plastic cup and use a new stir stick to mix it for another minute and you're ready to pour.
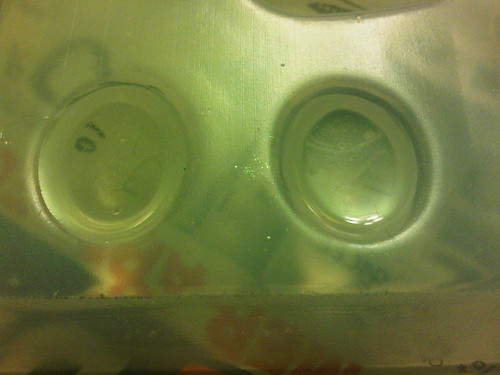
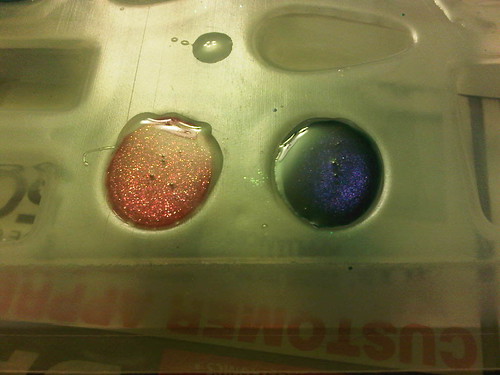
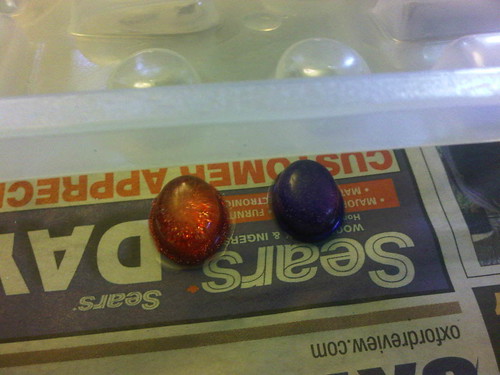
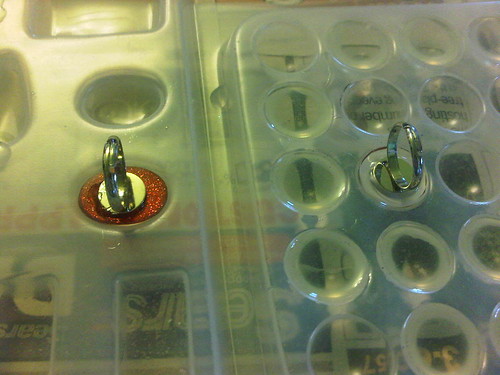
You need to fill it almost to the top of the mold. The one on the right is not filled enough. Basically you fill it so that the second and final layer is just enough to provide a protective cover over your nail polish since you'll be painting right on top here once it dries. Your first pour needs to cure 24 hours before you paint it. Right after you pour you will want to get the bubbles out and for that you take your straw and gently blow over the molds - I will elaborate on that in the next post.
After the first layer has cured you can go crazy with your nail polishes of choice and paint right on top of the resin. You will have to experiment to get the effect you want. Remember that this is upside down so if you're going for a layered polish look or say you want to use China Glaze's Fairy Dust to add some sparkle, use that first before you apply your coloured polish. I used anywhere from 3-5 coats of polish on my rings. Here I used Del Sol Heartbreaker.
So there is another method I've tried out with these rings that I will share. It's a lot fussier but it can turn out nicer if done right. With resin you can pretty much dump anything into it for decoration but remember that it's gone forever once you add it. You can use images, trinkets, glitter, cake sprinkles or pretty much anything to make jewelry.
I used scrapbook paper and cut out circle to fit inside the molds. Then I painted them with polish. You can use images and just cut them to size. I made one that you'll see below out of a sticker with a rose on it.
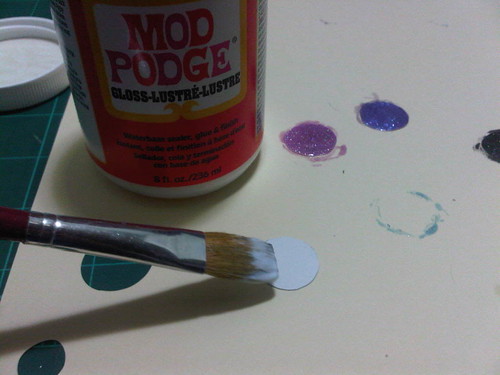
When you use this method you have to seal the image with Mod Podge, found at Walmart for about $8. Make sure you seal the back as well.
Fill the mold the same as previously, but instead of painting right on the resin once it's dry, you make another batch of resin and you have to dip your paper image into it to give it a thin coat.
After you dip your image you place it into the mold and press it down with a stir stick/straw/toothpick to get all the air out. If you use a clear mold like mine you can look underneath to make sure you get all the bubbles.
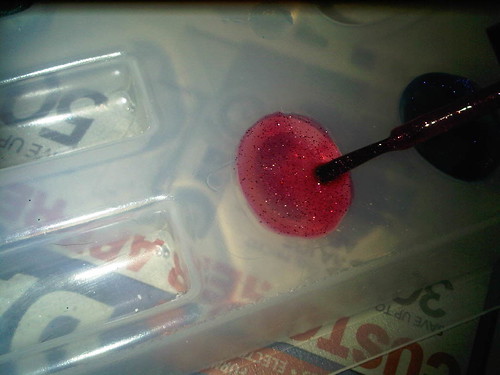
So now we've reached the same point for the two different methods. Once you've got your image or polish dried and ready to go you make your next batch of resin and pour just enough to cover/seal and fill the mold.
You don't have to be perfect because we'll get rid of the excess pour later. See the bubbles formed there? We get them out out by blowing lightly through a straw.

I like to go back and check about an hour later because sometimes more bubbles have formed. I've tried searching for answers on the bubble issue but it seems like there isn't an easy way to get rid of all the bubbles unless you're willing to invest in a pressure pot. Sometimes the bubbles just add to the look and sometimes you will just have to throw away your piece...I've done this a lot.
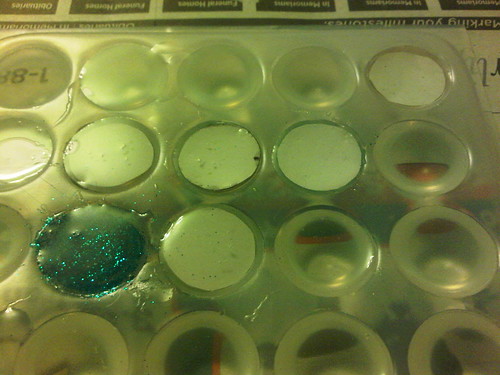
These are all pieces that didn't work out for one reason or another. See that blue one near the bottom left? I put my paper image in it right after my first pour and I got that giant bubble that wouldn't come out. Some of the others I used the image method and didn't fill the mold enough on my first pour. So be prepared to throw a few away.
So after you've let your second pour cure for 24 hours you can pop them out of your mold. They pop out just like ice cubes, just give your mold a little twist. You can pop the mold in the freezer for a minute if you're having trouble, but I've never had much of a problem getting mine out.
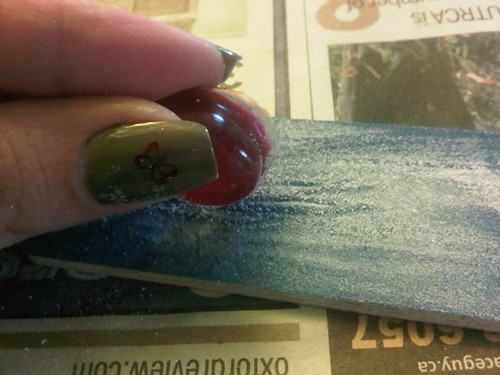
Now you want to file down the edges/spillover with just a regular old nail file. I'm sure you guys have some old ones laying around :) Take care not to scratch the surface because the marks won't come out.
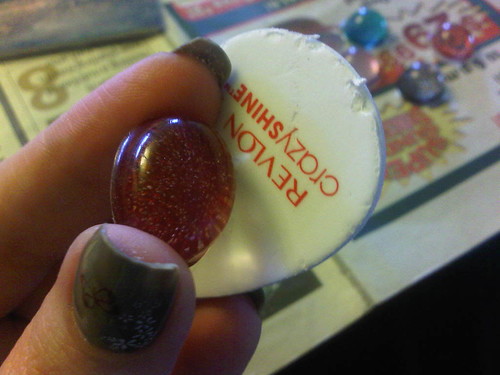
Some of mine have come out looking dull and I used this free sample buffer I got in a magazine that seems to work pretty good. I haven't tried any other buffer besides this one so I would suggest to try it out first on a piece that's headed for the garbage.

When you've finished filing, your filed edges will be cloudy but to me, they're not that noticeable so I don't bother doing anything with them. If it bothers you there are ways to fix it like pouring a covering coat over top or swiping a resin coated rag or brush over the edge.
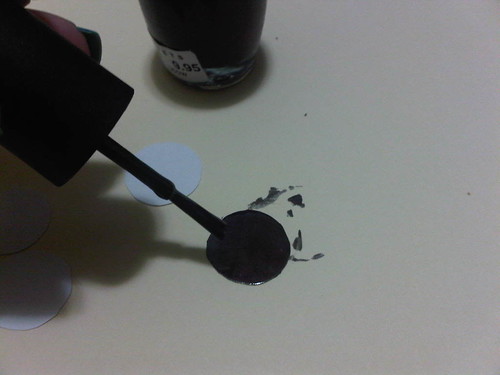
Then you take your ring base and dab some glue on it.
I put the rings back in the molds for stability while they dry and leave them for about 24 hours.

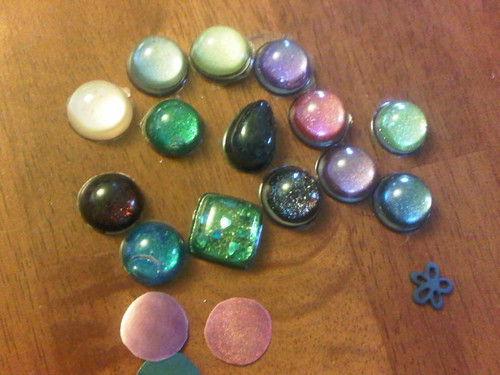
And that's all there is to it. The ring on the left is the rose sticker with a coat of China Glaze Fairy Dust and the other is the Del Sol Heartbreaker ring.
I've made necklaces and earrings out of these molds as well. One package of EasyCast has made over 50 charms so the total cost on these is peanuts really. Have fun experimenting! And please share any tips or tricks you find while making these yourself.