I'll start by saying that I am a DIYer so I don't claim to be an expert and this tutorial is strictly how I do my own nails and this is the method that works best for me.
What I use:
36 Watt 4-bulb UV lamp
Shellac Base Coat
Soak off Gel polish in any colour or brand you choose (I'm using Gelish in Bella's Vampire)
Gelish Top It Off
Isopropyl Alcohol (99% not 70%)
Pure Acetone
Lint free pads
Dappen pot or small dish
Eyeliner brush
Tinfoil
Cotton balls
From start to finish, this manicure will take about an hour and half in total.
Prep:
Hands must be clean and dry. Do not put your hands in water for a good 30-60 mins before the manicure.
Make sure your cuticles are pushed back and your nails are clean as you would normally before a manicure.
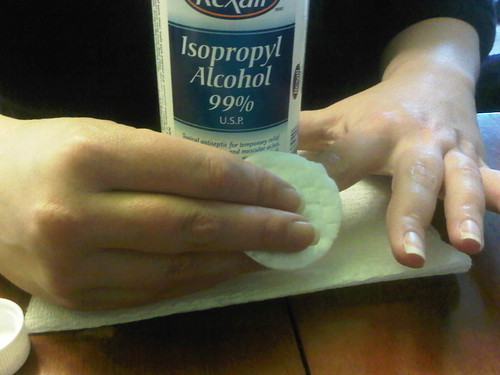
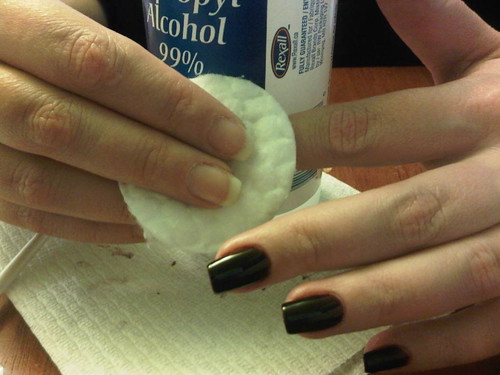
Take a lint free pad soaked with Isopropyl Alcohol and scrub your nails on one hand. **VERY IMPORTANT - After this step do not touch anything with this hand! That means don't even scratch an itch or brush your hair from your face. Any dirt/oil that gets on your nails will compromise the manicure. This is why you should always do one hand at a time.
The Gel Manicure:
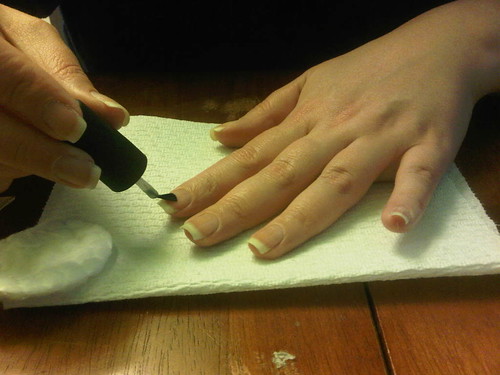
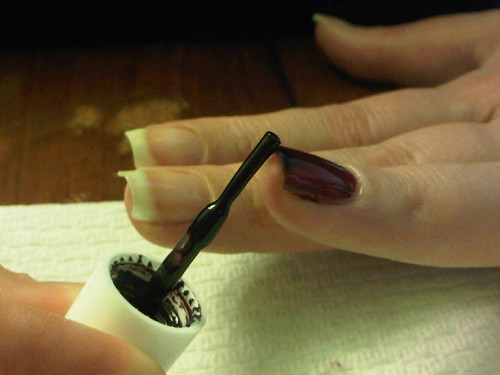
Shake the bottle of Shellac Base Coat well. Wipe virtually all of the Base Coat from the brush (trust me on this, there is plenty of Base Coat left to do all 5 nails). Apply Base Coat to each nail. You need the thinnest possible layer you can manage. I generally scrub the semi-dry brush into the nail. As long as you see a bit of shiny Base Coat covering the nail you're good. The Shellac self-levels. Cap the edges of your nails with the same brush.
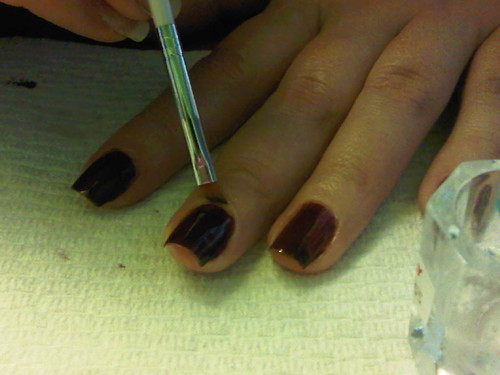
Fill a dappen pot or small bowl with a bit of Isopropyl Alcohol. Use it along with the eyeliner brush to remove any Base Coat from your cuticles and fingers. I cheated here and took the photo after my first coat of colour. I don't normally have to do this step on the base coat since the polish is so minimal that I don't usually get any on my skin.
Put your hand under the UV lamp and cure for 10 seconds. Do not touch your nails. They will still appear wet. Always make sure your gel polish bottles are closed tightly and moved away from the UV light.
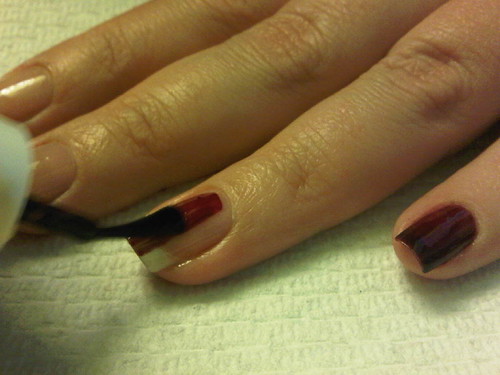
Take your colour of choice and apply a thin layer to each nail. It's not necessary to shake the bottle unless it states this on the bottle. Shellac is the only brand I've used that requires shaking. For this coat you don't need to use a semi-dry brush like the Base Coat, but use a very thin coat of colour. Cap the edges and clean up any excess with alcohol like before. Gel polishes don't start to harden up like regular polish does so it's easy to fix little nicks and imperfections with your polish brush.
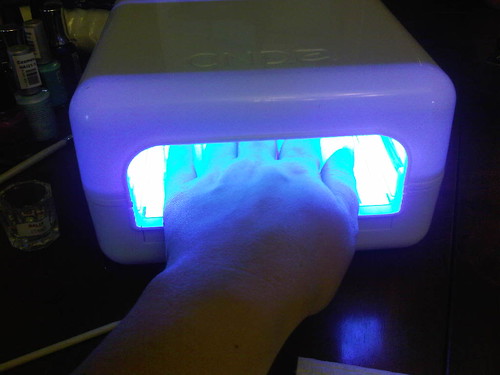
Place your hand under the UV lamp, always remembering to angle the tips of your nails 'up' slightly in order to make sure the UV light can 'see' your edges. Cure for 2 minutes.
Always remember to cap your free edge as above on all coats. Apply a second coat of colour and cure for 2 minutes. A third coat may be necessary so use your own judgement if your polish looks blotchy or streaky. After curing each coat your nails will be gummy or tacky so do not touch anything with them!
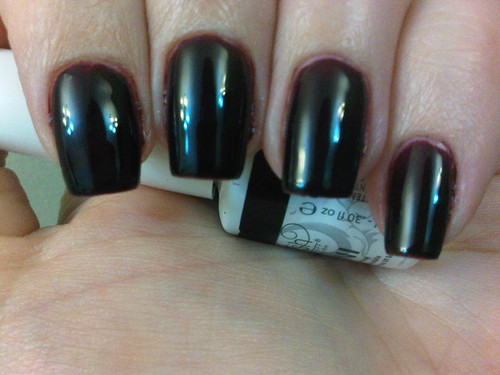
After your final coat of colour, apply a thin layer of Gelish Top It Off, cap your edges, clean up excess and cure for 2 minutes under the UV lamp.
When your top coat has finished curing, take a lint free wipe soaked in Isopropyl Alcohol (not acetone) and scrub the tacky layer off your nails. Repeat all the steps with your other hand and you're done! **IMPORTANT - Remember to keep your hands and nails moisturized afterwards and be especially attentive to your cuticles by using cuticle oil regularly.
Your manicure should last at least 14 days chip-free if not longer. You can paint and Konad with regular nail polish right on top of the gel manicure and remove it with non-acetone remover. It will not affect the gel manicure and your shiny top coat will still look good as new as long as you use non-acetone remover. It's still a good idea to use a regular base coat underneath the polish since some polishes like flakies or glitters, or even ones that stain can embed themselves in the gel.
Removal:
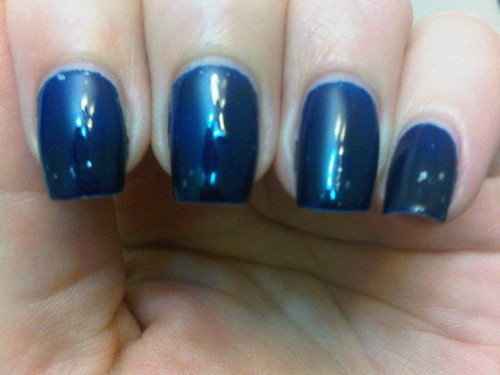
This photo is after 12 days of wear of my previous soak off gel mani. Chip free and not bad regrowth for almost 2 weeks. You can see that I wore a flakie polish and wasn't able to remove it all so I decided to remove the gel a bit early.
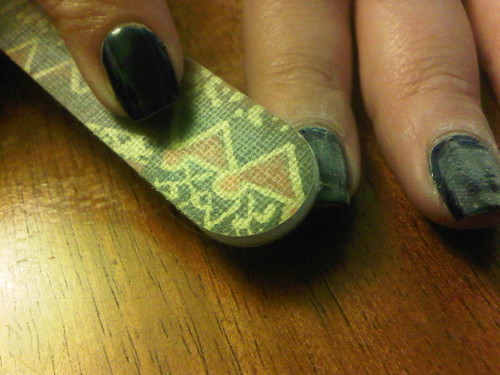
This step is completely optional depending on how comfortable you feel filing the surface. I just take the shine off with a light swipe of the file. I feel that it speeds up the removal a bit, but it's not necessary.
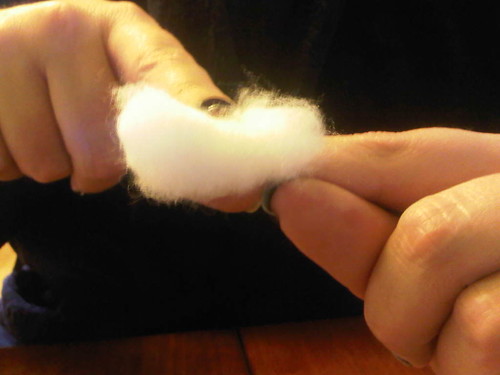
Douse a cotton ball with 100% acetone and place on nail.
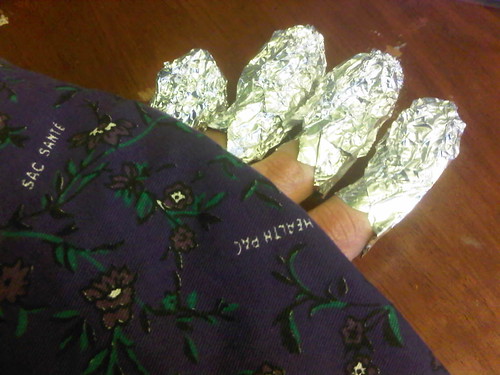
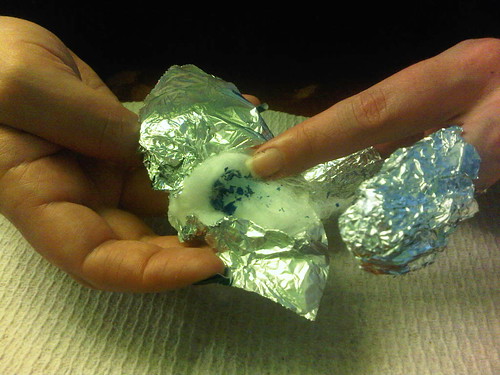
Wrap a piece of tinfoil around the finger to hold the cotton ball securely in place. Repeat with all five nails.
Optional - You can use a SLIGHTLY warm Magic Bag over your fingertips to help speed up the process as well. Be very careful not to heat the bag too much as acetone + tinfoil + heat = burn!
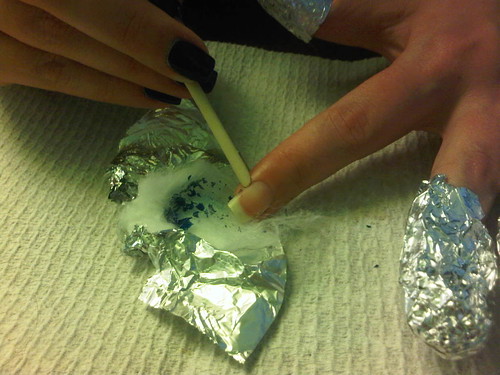
Wait 15 minutes and twist off foil covered cotton balls one by one.
Any excess gel left on the nail plate can be gently pushed off with an orange stick. If needed, take some acetone on a cotton ball for a final swipe clean.
These are my own natural nails after having done 15 soak off gel manicures since I bought my system back in September. Slightly dry from the acetone but no damage. Since September my nails have had maybe 5 days in total that were soak off gel free. You can see my nails are not damaged at all and in fact they are much whiter and look amazing compared to what I started with before the soak off gel obsession. If you need a reminder of how terrible my nails were back then: pre soak off nails
I now swear by these soak off gel polishes. They add a bit of reinforcement to my weak nails and I never have to leave the house with chipped polish even if I'm rushing out at the last minute. It allows me to be a little more experimental with nail art without compromising the manicure underneath. It's helped me get my natural nails back a to a nice healthy white and all of that is worth 10 times the investment I've made into the system.


