
Materials needed:
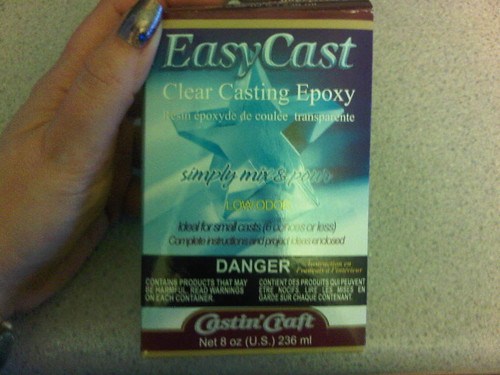
EasyCast found at Michael's craft store for around $30. Don't forget to print out your 40% off coupon when you go! This is supposedly the easiest casting resin to work with.

Jewelry mold found at some craft stores but I had to buy mine online for about $5. I bought the one pictured and one with 25 small round molds. This type of mold doesn't require 'mold release'. If you use a silicone mold, you will need the release agent.

Ring bases can also be found at craft stores but I also had to purchase these online. I found them for $.45 each at an online store.
You will also need plastic cups and stir sticks/popsicle sticks, newspapers, a straw and glue. For the glue I used E-6000 which seems to be the glue of choice for resin jewelry, found at Michaels for about $6.
So I laid out newspapers on my table and followed the instructions in the EasyCast kit. You have to warm up the two bottles - I used a large bowl full of warm water and left them to sit for about 10 minutes.
Then you have to pour out equal portions of resin to hardener - I used plastic shooter glasses to measure. Pour them into a large plastic cup and stir for 2 minutes. Then you have to pour it into another plastic cup and use a new stir stick to mix it for another minute and you're ready to pour.
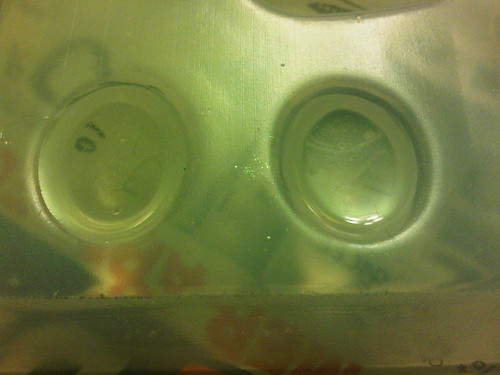
You need to fill it almost to the top of the mold. The one on the right is not filled enough. Basically you fill it so that the second and final layer is just enough to provide a protective cover over your nail polish since you'll be painting right on top here once it dries. Your first pour needs to cure 24 hours before you paint it. Right after you pour you will want to get the bubbles out and for that you take your straw and gently blow over the molds - I will elaborate on that in the next post.
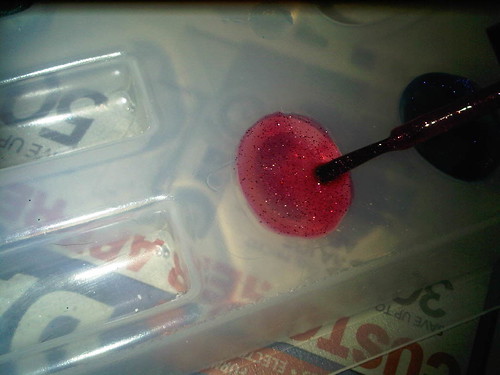
After the first layer has cured you can go crazy with your nail polishes of choice and paint right on top of the resin. You will have to experiment to get the effect you want. Remember that this is upside down so if you're going for a layered polish look or say you want to use China Glaze's Fairy Dust to add some sparkle, use that first before you apply your coloured polish. I used anywhere from 3-5 coats of polish on my rings. Here I used Del Sol Heartbreaker.
To be continued...
Later
P
Thanks for this! I've never thought about making rings myself but seems based on just this first installment that maybe I could manage. :)
ReplyDeleteThey really are simple to make and quite cheap. Tons of other possibilities with resin too.
ReplyDeleteThank you! I think I'll try this myself, if it's possible to find the "ingredients" over here in Belgium.
ReplyDelete