So there is another method I've tried out with these rings that I will share. It's a lot fussier but it can turn out nicer if done right. With resin you can pretty much dump anything into it for decoration but remember that it's gone forever once you add it. You can use images, trinkets, glitter, cake sprinkles or pretty much anything to make jewelry.
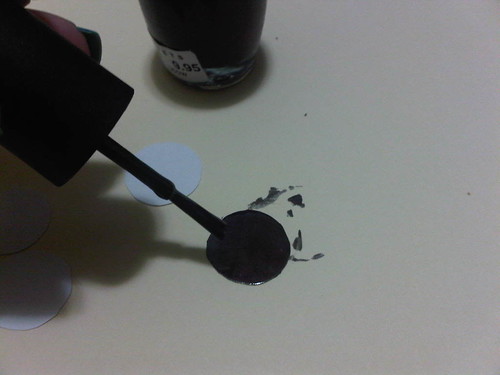
I used scrapbook paper and cut out circle to fit inside the molds. Then I painted them with polish. You can use images and just cut them to size. I made one that you'll see below out of a sticker with a rose on it.
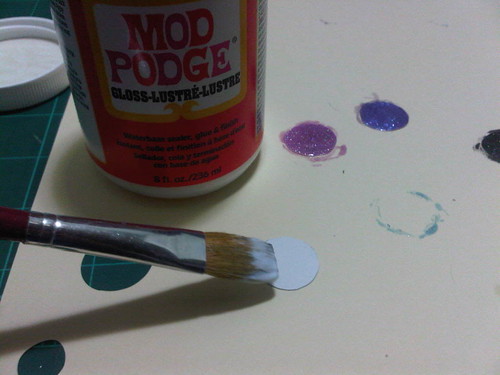
When you use this method you have to seal the image with Mod Podge, found at Walmart for about $8. Make sure you seal the back as well.
Fill the mold the same as in the previous post, but instead of painting right on the resin once it's dry, you make another batch of resin and you have to dip your paper image into it to give it a thin coat.
After you dip your image you place it into the mold and press it down with a stir stick/straw/toothpick to get all the air out. If you use a clear mold like mine you can look underneath to make sure you get all the bubbles.
So now we've reached the same point for the two different methods. Once you've got your image or polish dried and ready to go you make your next batch of resin and pour just enough to cover/seal and fill the mold.
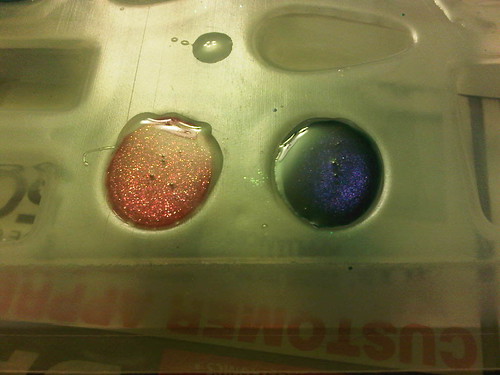
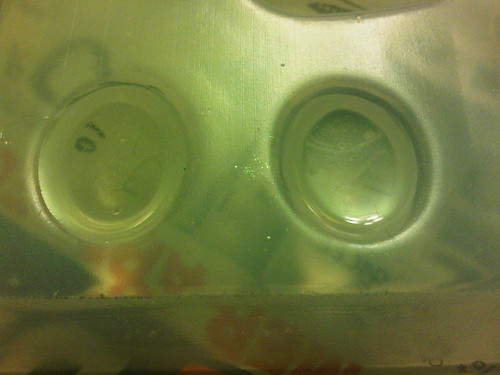
You don't have to be perfect because we'll get rid of the excess pour later. See the bubbles formed there? We get them out out by blowing lightly through a straw.
I like to go back and check about an hour later because sometimes more bubbles have formed. I've tried searching for answers on the bubble issue but it seems like there isn't an easy way to get rid of all the bubbles unless you're willing to invest in a pressure pot. Sometimes the bubbles just add to the look and sometimes you will just have to throw away your piece...I've done this a lot.
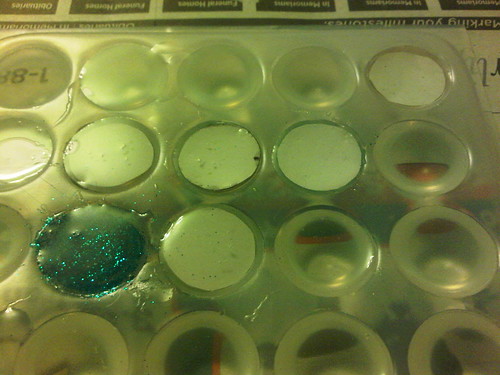
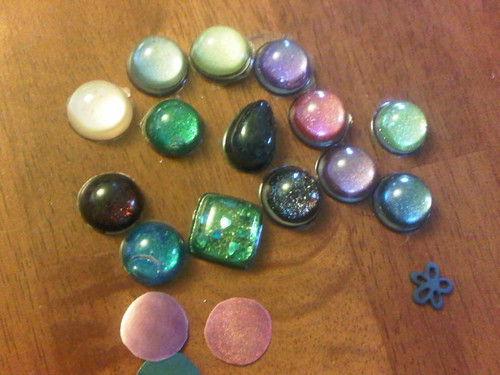
These are all pieces that didn't work out for one reason or another. See that blue one near the bottom left? I put my paper image in it right after my first pour and I got that giant bubble that wouldn't come out. Some of the others I used the image method and didn't fill the mold enough on my first pour. So be prepared to throw a few away.
So after you've let your second pour cure for 24 hours you can pop them out of your mold. They pop out just like ice cubes, just give your mold a little twist. You can pop the mold in the freezer for a minute if you're having trouble, but I've never had much of a problem getting mine out.
Now you want to file down the edges/spillover with just a regular old nail file. I'm sure you guys have some old ones laying around :) Take care not to scratch the surface because the marks won't come out.
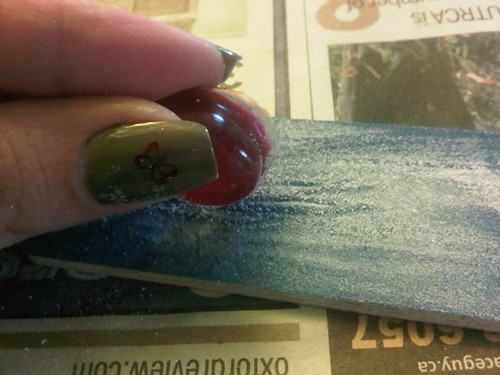
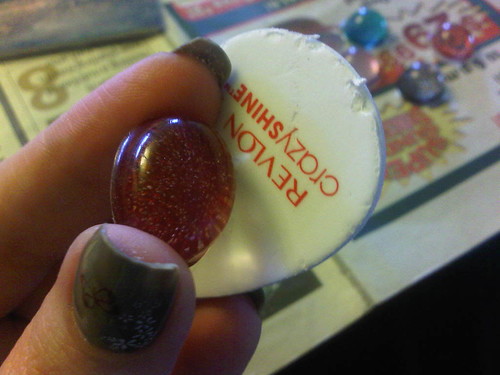
Some of mine have come out looking dull and I used this free sample buffer I got in a magazine that seems to work pretty good. I haven't tried any other buffer besides this one so I would suggest to try it out first on a piece that's headed for the garbage.
When you've finished filing, your filed edges will be cloudy but to me, they're not that noticeable so I don't bother doing anything with them. If it bothers you there are ways to fix it like pouring a covering coat over top or swiping a resin coated rag or brush over the edge.
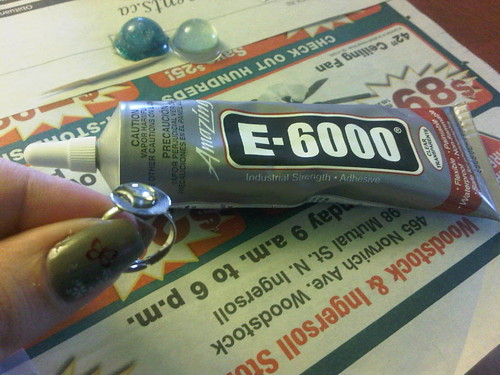
Then you take your ring base and dab some glue on it.
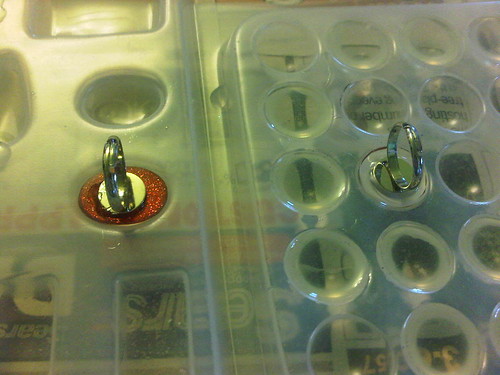
I put the rings back in the molds for stability while they dry and leave them for about 24 hours.
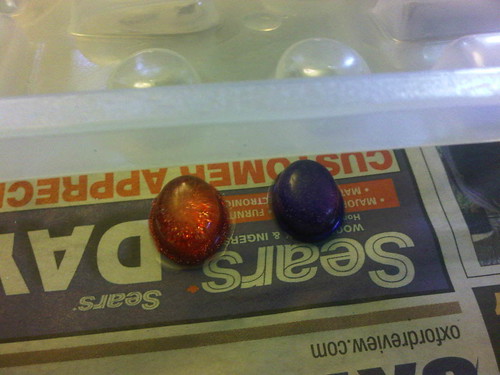
And that's all there is to it. The ring on the left is the rose sticker with a coat of China Glaze Fairy Dust and the other is the Del Sol Heartbreaker ring.
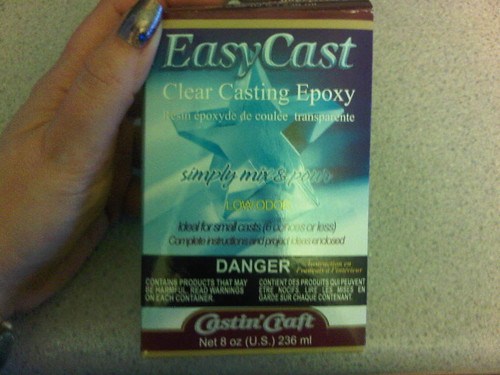
I've made necklaces and earrings out of these molds as well. One package of EasyCast has made over 50 charms so the total cost on these is peanuts really. Have fun experimenting! And please share any tips or tricks you find while making these yourself.
Later
P
Friday, April 29, 2011
Thursday, April 28, 2011
Dammit!
Sorry but I've been trying all morning to get Flickr to load and it's just not working. I'm going to search for another host in the meantime (any suggestions?), but part 2 of resin rings will have to wait until tomorrow :(
Later
P
Later
P
Wednesday, April 27, 2011
Resin Rings Pt.1
So I have to start this post by stating that this is not so much a tutorial but more 'this is how I made them'. I'm only a beginner here and I don't know all the answers but I will certainly share everything I've learned.
Materials needed:
EasyCast found at Michael's craft store for around $30. Don't forget to print out your 40% off coupon when you go! This is supposedly the easiest casting resin to work with.
Jewelry mold found at some craft stores but I had to buy mine online for about $5. I bought the one pictured and one with 25 small round molds. This type of mold doesn't require 'mold release'. If you use a silicone mold, you will need the release agent.
Ring bases can also be found at craft stores but I also had to purchase these online. I found them for $.45 each at an online store.
You will also need plastic cups and stir sticks/popsicle sticks, newspapers, a straw and glue. For the glue I used E-6000 which seems to be the glue of choice for resin jewelry, found at Michaels for about $6.
So I laid out newspapers on my table and followed the instructions in the EasyCast kit. You have to warm up the two bottles - I used a large bowl full of warm water and left them to sit for about 10 minutes.
Then you have to pour out equal portions of resin to hardener - I used plastic shooter glasses to measure. Pour them into a large plastic cup and stir for 2 minutes. Then you have to pour it into another plastic cup and use a new stir stick to mix it for another minute and you're ready to pour.
You need to fill it almost to the top of the mold. The one on the right is not filled enough. Basically you fill it so that the second and final layer is just enough to provide a protective cover over your nail polish since you'll be painting right on top here once it dries. Your first pour needs to cure 24 hours before you paint it. Right after you pour you will want to get the bubbles out and for that you take your straw and gently blow over the molds - I will elaborate on that in the next post.
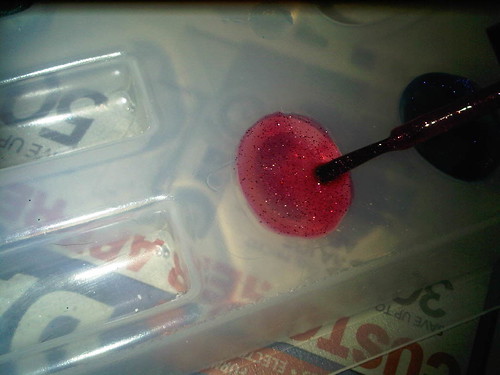
After the first layer has cured you can go crazy with your nail polishes of choice and paint right on top of the resin. You will have to experiment to get the effect you want. Remember that this is upside down so if you're going for a layered polish look or say you want to use China Glaze's Fairy Dust to add some sparkle, use that first before you apply your coloured polish. I used anywhere from 3-5 coats of polish on my rings. Here I used Del Sol Heartbreaker.
To be continued...
Later
P
Tuesday, April 26, 2011
Just a quickie
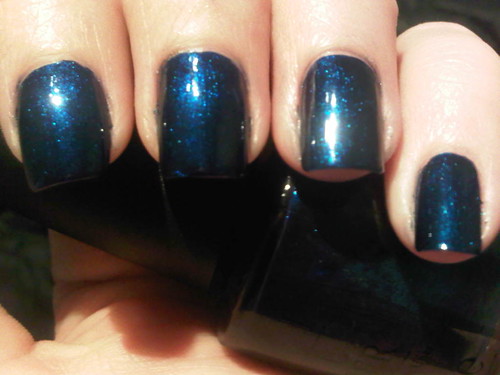
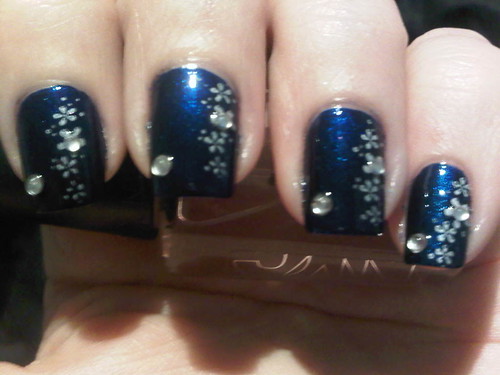
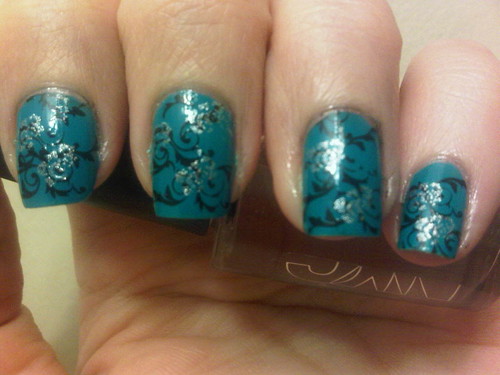
This is 2 coats of OPI's Yoga-ta Get This Blue. I like it.
I stamped it with image plate m9 in Color Club's Pretty In Platinum and topped it off with 2 different sized gems. I got a couple of compliments on this one.
Part one of the resin tutorial should be up tomorrow :)
Later
P
Monday, April 25, 2011
Best friggen score ever!
Man I love Kijiji! Yeah that's the Konad Pro Salon Kit. A spa that's about an hour from where I live was selling off all their manicure stuff and I saw this listed for $75! They had it listed as a 'nail decal kit' which is why I think it was still listed 3 weeks later. Or maybe no one around here knows what Konad is...who knows, but I'm a happy camper right now. Once I sell off my duplicate plates this will have cost me half of that. Oh I also spied a silver capped China Glaze at the spa but it turned out to be GR8...which is the only one from that collection I'm not interested in buying...too bad.
So first mani with my new kit:
This is 3 coats of Color Club's Alter Ego. Nice but I thought it would be darker.
This was my first mani with the official Konad Special Polish and I gotta say...not worth the money when so many others work just as well. And it streaks way worse with top coat than any 'normal' polish!
So I used m24 and white to stamp first, then used OPI Yoga-ta Get This Blue and m2 to stamp the flowers, and topped with a dark blue gem. I love my new Konad kit!
Later
P
Wednesday, April 20, 2011
Well it's apparently rocket science to RIM anyways...
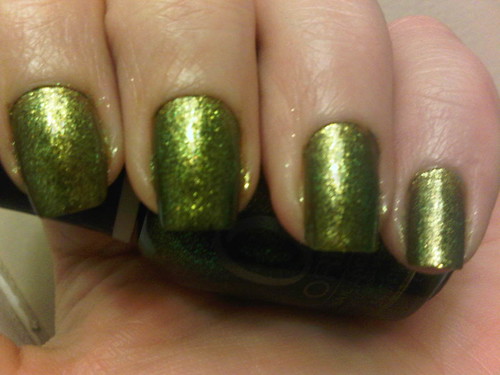
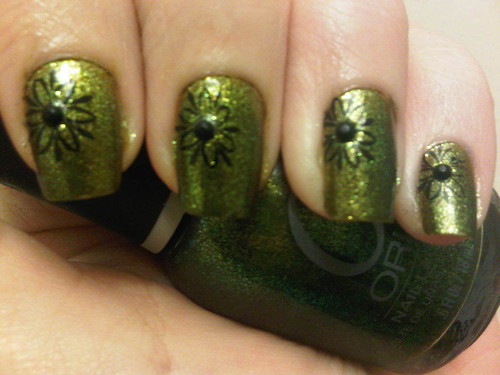
Quick one today. Ever since I downloaded OS6 on my Blackberry the picture quality has been much worse...ugh. So the blurry pic above is 3 coats of Orly's It's Not Rocket Science. I found once I got this on my nails that it seemed more like a rusty gold colour rather than green...weird.
I stamped it in black with plate BM03 and added a black gem to the center. Topped with NYC quick dry.
I forgot to mention about the last mani with Carnation Creation - it chipped the morning after I did my nails! What the heck is up with that shit? I'm hesitant to buy any more Finger Paints polish now.
Resin tutorial should be up next week!
Later
P
Monday, April 18, 2011
I'm a slacker
Sorry I've been bad at updating this past week but I've been going crazy. I have been working on putting together a tutorial for the resin jewelry, but it will have to be split into parts and I'm still working out a few bugs. I promise that I will get it posted shortly.
In the meantime check out this franken I made. I 'think' I accidentally duped Zoya's Danii! Or at least pretty friggen close to it.
I think it's a bit more mauve than Danii but it's got that awesome golden sparkle to it. I really need to get a better camera, sorry. I used an old light blue Avon that's almost a dupe for OPI What's With the Cattitude, a splash of Sally Hansen Maximum Growth in Cherry Charisma and a really healthy dose of Revlon Beach.
And here's a mani for you since I've been such a slacker...
This is one coat of Finger Paints Carnation Creation. This polish stains so badly that I had to wear another dark colour for my next mani.
I double stamped with BM12 in Black and then used the rose image from Konad plate m36 in Sally Hansen Celeb City. Meh.
Later
P
Labels:
BM12,
Finger Paints,
Franken,
m36,
Sally Hansen
Tuesday, April 12, 2011
I have a secret
So I've been wanting to post about this for awhile but I was afraid I might get some negative backlash from it. Then I discovered 2 blogs yesterday who were also doing it and I figured ok screw it then. So what am I talking about exactly? Resin jewelry. First off, I'd like to make it very clear that I am NOT selling these.
If you haven't already guessed by now, I'm kind of a cheap ass. But I'm a creative cheap ass so when I saw these resin pieces showing up on blogs I immediately wanted one and figured they looked easy enough to make. And I was right.
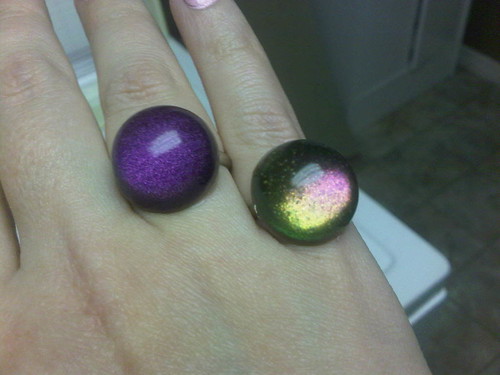
The ring on the left is made with Color Club's Wild at Heart and the right one is Hard Candy's Beetle (holy awesome eh?). This was my first batch so they're far from perfect but I was happy with how they turned out.
Warning - please disregard my manicure in the next photo as I was abducted by My Little Ponies who shit pink and sparkles all over my nails.
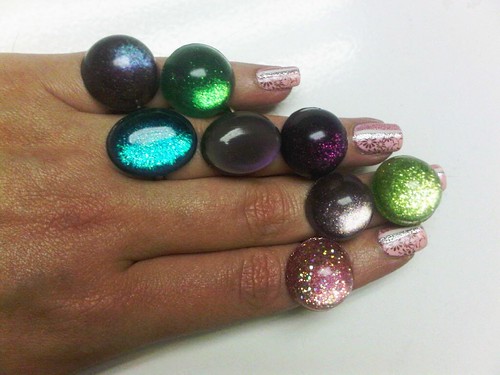
Pinky L-R: Orly Galaxy Girl, Zoya Ivanka
Ring L-R: Zoya Charla, Revlon Perplex, Wet and Wild Night Prowl (love this one)
Middle L-R: Color Club Alter Ego, Studio M Gel-ous
Index: Pure Ice Spitfire layered over OPI DS Signature
Several of them didn't quite turn out including almost all of the holos so I have a second batch curing as we speak. I will absolutely share instructions if anyone is interested in giving it a try themselves. Total cost for me for about 30 rings and 25 necklace charms is about $55 CAD and I have more than enough resin left over to make double that. Be aware that some of the supplies I had to order from the US though. Also, I researched this for a month or so before I finally bit the bullet and I ordered the cheapest supplies I could possibly find so they are not the same quality as some of the items seen on other blogs.
I also wanted to show you what I found at Michael's last weekend:
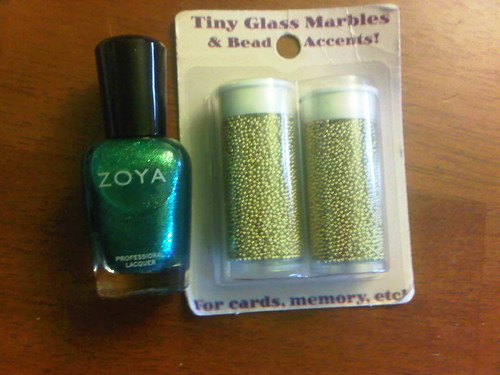
These babies were $1.49 on clearance! The Zoya is only there for size comparison to show how huge those bottles are. They had 2 different sizes and several different colours so if you have a Michael's nearby go check it out! I believe I found them somewhere in between the scrapbooking-jewelry making sections.
Later
P
Monday, April 11, 2011
That wasn't supposed to happen
I started this one with OPI's What's With The Cattitude - 2 coats and it definitely needed another, but I was only intending this to be a base. I was surprised how sheer this polish was.
I wanted to layer one of my Tronica polishes and I was surprised how opaque it actually was. This is 1 coat of China Glaze High Def over top. Pretty much made the first two coats useless.
I stamped on an angle with plate BM19 using Billie Plutonium Plum. And then I defined the edge with a silver striper. Blech, bad colour choices. I gotta say though that the Billie polish is awesome for stamping! Can't go wrong for $1.25!
Later
P
Thursday, April 7, 2011
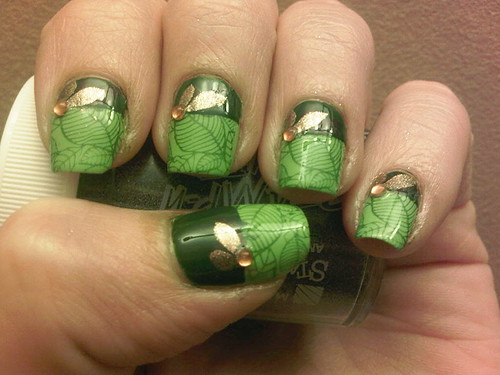
Green on Green
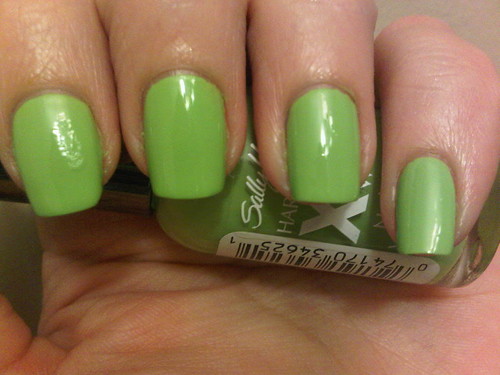
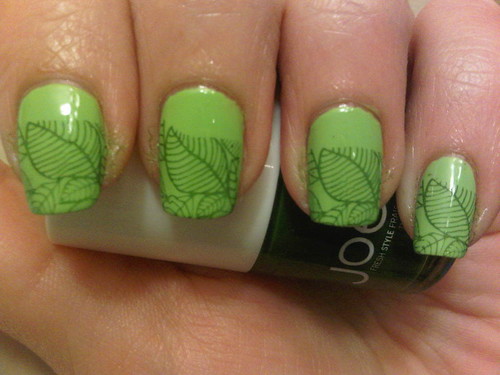
This is two coats of Sally Hansen Xtreme Wear in Green With Envy. I had serious issues painting my nails that night...I kept smudging them on everything! Luckily I knew I was going to stamp over it so I didn't care about my nails so much but my poor shirt didn't fare so well.
To stamp I used plate BM19 and Joe polish in Moss.
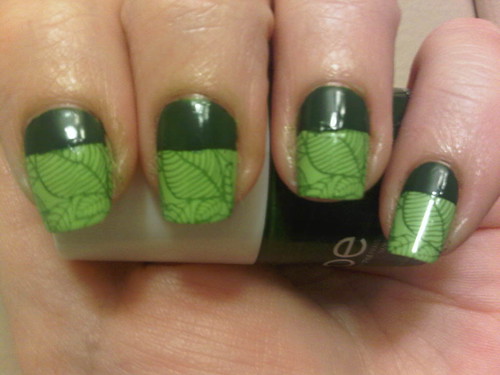
Rather than stamp twice, I just filled in the empty space with Joe Moss.
Then I used plate BM05 and stamped only a part of the leaf image in Revlon's Copper Penny and finished it off with a small gold rhinestone. This is my entry for the Bundle Monster contest. I don't have near enough voting friends to actually win a set of plates, but it was still fun to create an entry. The design is a little loud, but it's growing on me. I'm thinking this basic design would look really good with different colours and stamps so it's likely I will try it out again sometime.
Later
P
Tuesday, April 5, 2011
Alter Ego Trip
Well I seem to be catching up quite quickly here on my backlog. This is the mani I wore on the weekend.
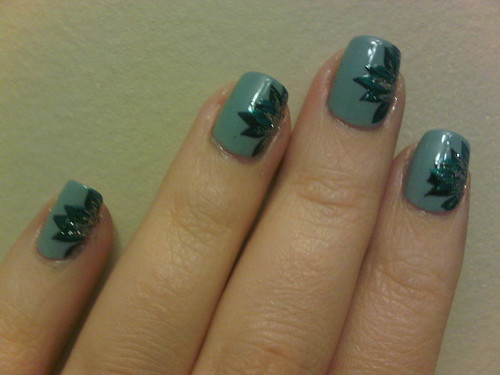
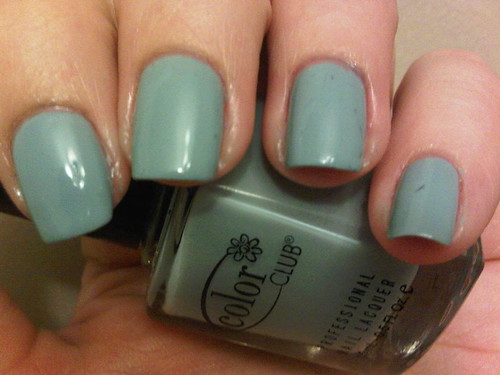
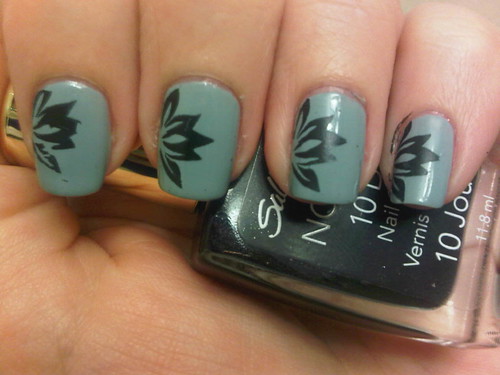
I started with 3(!) coats of Sheer Disguise from the Color Club Alter Ego collection. If I have to do 3 coats I probably won't wear it again. I topped it with SV and OMG look at the little flakes of Russian Navy Matte that came off my SV brush! I was so pissed when it did that. Anyone else ever had that happen?
So I stamped it with BM05 in Sally Hansen No Chip in Black Berry. I actually tried using my usual Wet and Wild Black Creme but as you can see on my index finger it wasn't stamping properly.
So since I messed up again (lol) I pulled out Studio M in Ego Trip and stamped again. Then I filled in the holes with a silver striping brush.
Funny thing about Sheer Disguise...when I looked at the bottle I thought it was a greyish blue. When it was on my nails it looked just plain grey. But when I pulled out blues to stamp with it was clearly more greenish. Definitely an odd colour.
Later
P
Monday, April 4, 2011
Well no friggen wonder...
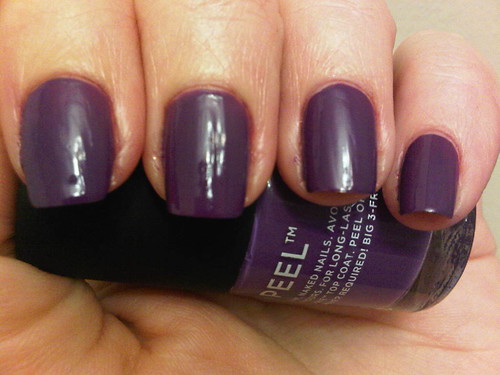
This polish was found at Big Lots for $2 - Paint and Peel in Crush. I was surprised to read that it's Canadian. However I'm not surprised they were selling it at Big Lots. This is 2 coats and although the finish looks nice here, it's really not. The texture of it was pretty uneven.
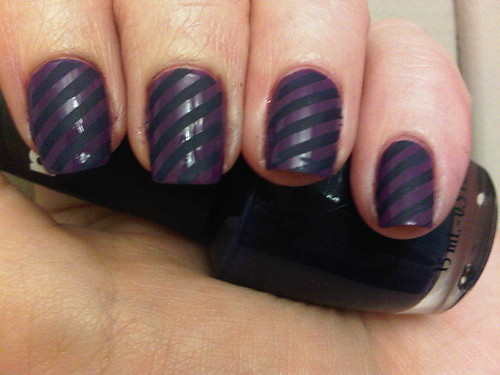
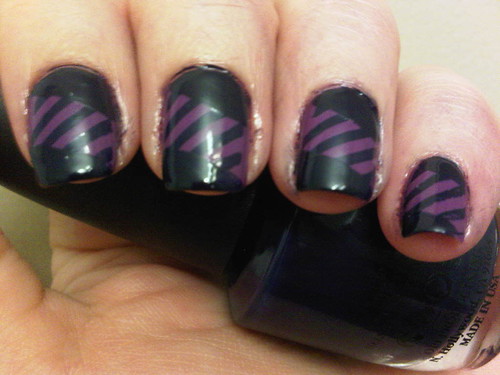
I stamped it with BM20 in OPI's Russian Navy Matte. And again I should have left it alone haha. But I had this great idea...
And once again the execution didn't go so well. The problem was that I bought some really shitty tape and the OPI polish actually ate through it! I was peeling tons of little polish covered pieces of tape off my fingers and I ended up getting pissed off and freehanding some really uneven lines...oh well.
So the Paint and Peel? Yeah I peeled it. You can't put 'peel' in the name of a polish and expect us not to peel it right? So did it peel off? Sure. Did it peel off cleanly? Fuck no. Did it damage my nails? Hell yes! Will I wear this polish again? Fuck no. And that is why this polish is sold at Big Lots.
Later
P
Friday, April 1, 2011
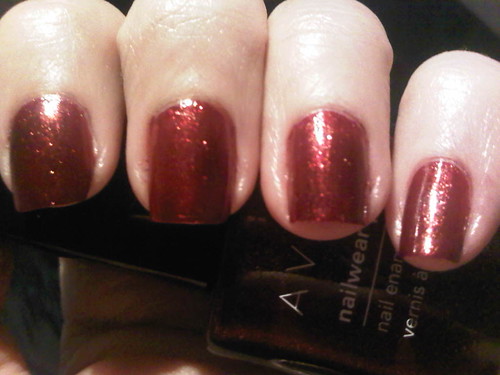
Avon Golden Wine
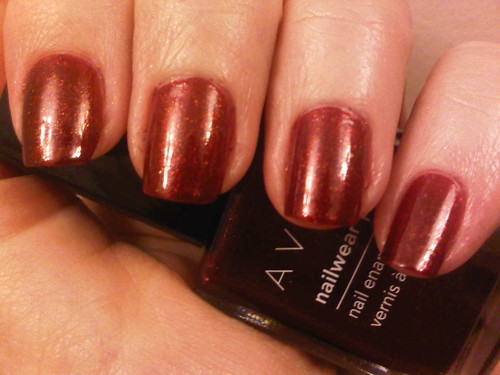
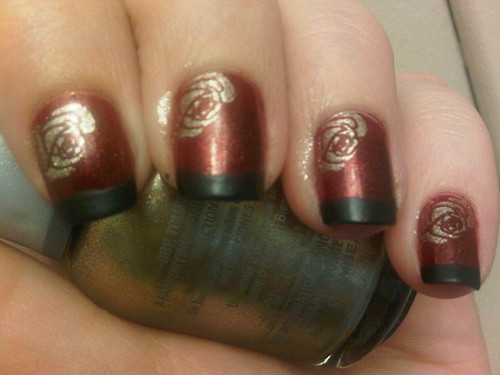
Happy Friday! Here we have 2 coats of Avon Golden Wine. In most lights I found this colour to be more red than wine but it was still quite nice. I did however find that on the second coat the polish looked like it got 'dirtier' towards my tips...kind of weird.
This polish has a golden glass-fleck to it. I don't really own anything else like it.
The I stamped it with Orly Luxe and plate BM14. I'm finding that whatever I have planned in my head never ends up that way on my nails lol.
So since my original idea never panned out I decided to do quick freehand tip in Color Club's Dark Romance. Then I decided this probably would have been a pretty decent Chinese New Year mani and I took it off lol.
Have a great weekend!
Later
P
Subscribe to:
Comments (Atom)

