That my boyfriend fucking rocks!
We were recently discussing Christmas and I told him 'you can't go wrong with nail polish' lol. So he told me to make a list, which I did and of course included all the obligatory hard to find and retired polishes, with a little addition at the end of the list - Spectraflair.
So last night he comes home and sets a little bottle down on the table. It looks like a pretty silvery holo powder. But he tells me it's not Spectraflair and that he can't get it here, but this stuff is pretty close. So I immediately ran upstairs to grab my franken supplies.
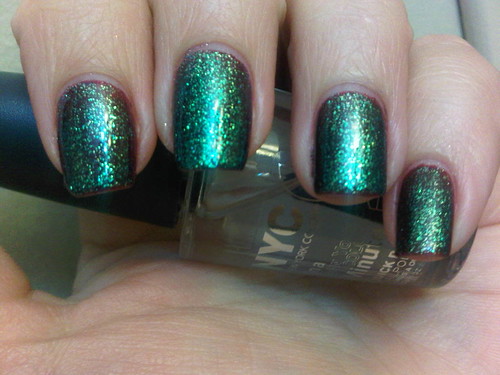
I mixed it with a random topcoat. Definitely not Spectraflair but still really cool. It immediately reminded me of China Glaze's Fairy Dust but I made it more dense.
1. 1 coat Sally Hansen Celeb City, 3 coats Holo Auto Paint
2. 4 coats Holo Auto Paint
3. 1 coat Black Creme, 1 coat Holo Auto Paint
4. 1 coat Black Creme, 2 coats China Glaze Fairy Dust
5. 1 coat Black Creme, 2 coats Holo Auto Paint
The particles are bigger than Fairy Dust and the holo is almost linear at some angles. I tried mixing it with a grey creme polish but it didn't work. I thought I would like it best over silver but I prefer the one on it's own. Sadly I don't think that will translate on the nail.
My boyfriend says they do have a finer grade as well he will try to get for me and I've asked him to find out the name of it. He did get me a nice size free sample of this. Damn, if he brings me home shit like this just randomly then I can only imagine what I'll find for Christmas!
Oh and just as an aside, he was laughing his ass off at me while I was taking photos of my nail wheel. But that's okay because his Star Wars obsession is way beyond my nail polish obsession lol.
Later
P
Monday, October 31, 2011
Friday, October 28, 2011
Testing out the knock-offs
Soak off UV Gel polishes are expensive, like crazy expensive. At Sally's a small .3oz bottle of Gelish is $18 here in Canada! Yes that's with a club card! I only bought 2 of them when they were on sale and used a coupon as well.
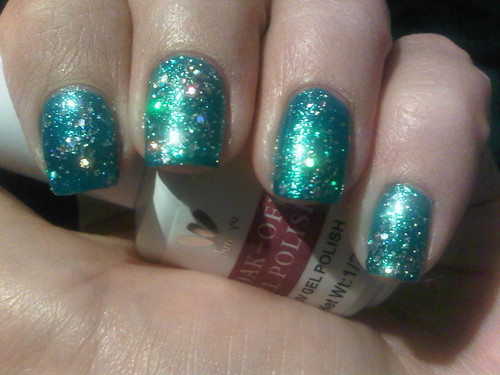
So here we have 3 coats of Gelish Oocha Coocha Bing Bang Bam - Alakazy Alakazam. I'm holding Zoya's Charla for comparison because it's actually pretty close in colour, just a tad less gold.
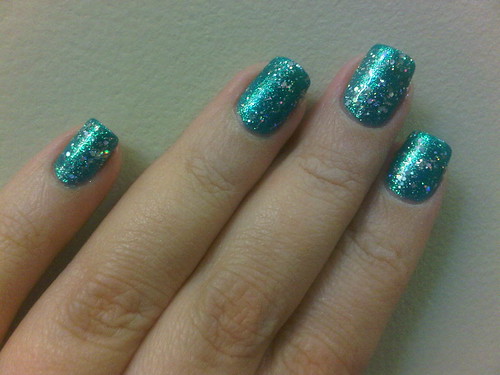
And here I added a coat of a chinese knock-off polish called Jun Yu and the colour is A52 - a multi-sized holographic glitter in a clear base. This polish cost me around $7 which is a bargain compared to the $18 Gelish and especially since it's double the size! However I've heard some terrible things about these knock-offs, specifically how they are insanely difficult to remove.
So I'm hoping with 3 layers of Gelish underneath that I won't have issues with removal but we shall see. I bought 5 of these and they are all layering polishes. I'm planning a trip to Michigan next week so I will likely pick up a few Gelish polishes from Sally's while I'm there because they're much cheaper in the US. Why do these have to be so friggen expensive?
So I've done a lot of reading and research on these polishes and I'll share some info with you in case anyone is considering doing their own soak off UV gel manis at home:
There are UV lights and LED lights for curing. Not all the polishes cure under LED but they all do under UV. LED lights are 3-5x the price of UV lights but the cure times are half that of UV. I use the CND Shellac UV lamp.
You need special base and top coats but the brands are all interchangeable as far as I can tell. Some work better than others. What works best for me is the Shellac base coat and the Gelish top coat.
It takes about an hour and a half, give or take, to do your own manicure. It takes about half an hour less to do it on someone else since you can paint one hand while the other cures. However you need to keep your brush and polish jar away from the lamp because the light will harden it.
Removal is the same tinfoil method used for glitter. With the Gelish top coat it needs a light surface filing first. I usually soak for about 15 minutes to be safe. With my Shellac base/Gelish top combo the polish comes off in a sheet and my nails are ready to go.
I had a bit of trouble for my first few manis but now that I've worked out the kinks I absolutely love it and think it was a great investment.
Later
P
So here we have 3 coats of Gelish Oocha Coocha Bing Bang Bam - Alakazy Alakazam. I'm holding Zoya's Charla for comparison because it's actually pretty close in colour, just a tad less gold.
And here I added a coat of a chinese knock-off polish called Jun Yu and the colour is A52 - a multi-sized holographic glitter in a clear base. This polish cost me around $7 which is a bargain compared to the $18 Gelish and especially since it's double the size! However I've heard some terrible things about these knock-offs, specifically how they are insanely difficult to remove.
So I'm hoping with 3 layers of Gelish underneath that I won't have issues with removal but we shall see. I bought 5 of these and they are all layering polishes. I'm planning a trip to Michigan next week so I will likely pick up a few Gelish polishes from Sally's while I'm there because they're much cheaper in the US. Why do these have to be so friggen expensive?
So I've done a lot of reading and research on these polishes and I'll share some info with you in case anyone is considering doing their own soak off UV gel manis at home:
There are UV lights and LED lights for curing. Not all the polishes cure under LED but they all do under UV. LED lights are 3-5x the price of UV lights but the cure times are half that of UV. I use the CND Shellac UV lamp.
You need special base and top coats but the brands are all interchangeable as far as I can tell. Some work better than others. What works best for me is the Shellac base coat and the Gelish top coat.
It takes about an hour and a half, give or take, to do your own manicure. It takes about half an hour less to do it on someone else since you can paint one hand while the other cures. However you need to keep your brush and polish jar away from the lamp because the light will harden it.
Removal is the same tinfoil method used for glitter. With the Gelish top coat it needs a light surface filing first. I usually soak for about 15 minutes to be safe. With my Shellac base/Gelish top combo the polish comes off in a sheet and my nails are ready to go.
I had a bit of trouble for my first few manis but now that I've worked out the kinks I absolutely love it and think it was a great investment.
Later
P
Wednesday, October 26, 2011
Halfway there!
So here we have my Shellac/Gelish combo on day one:
And here we are after one full week at Day 7:
I'm impressed! Minimal regrowth and no chips at all! My hands were majorly abused during those 7 days as well since I was sick and spent a few nights soaking in the hot tub, plus I had painted and removed regular polish on top at least 3 times by then.
So let's paint it some more!
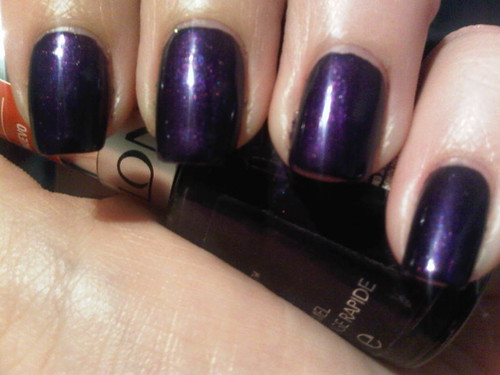
This is Revlon Top Speed in Grape - 1 coat. This was the first polish I've tried from the Top Speed line. I'm not impressed. This did not dry as fast as the Sally Hansen Insta-Dri polishes and it was really only dry to touch on the surface since about 5 minutes after painting I gouged one nail pretty badly. The colour is amazing though and for some reason kept photographing blue but this pic is pretty accurate.
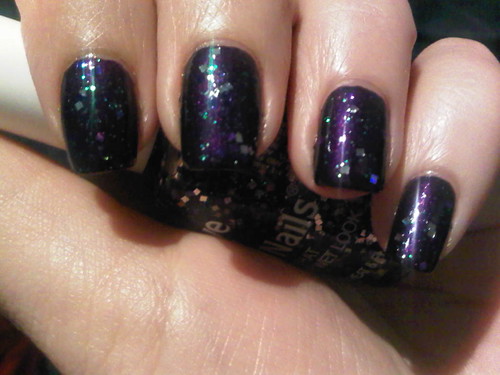
I was in a glitter kind of mood so I added one coat of Love My Nails in All That. This was a cheap-ass $1 polish I picked up at a Walmart in the US. It's got tiny green glitter and square purple and silver holo glitter in it. I wish I could capture this better. I like it.
Later
P
And here we are after one full week at Day 7:
I'm impressed! Minimal regrowth and no chips at all! My hands were majorly abused during those 7 days as well since I was sick and spent a few nights soaking in the hot tub, plus I had painted and removed regular polish on top at least 3 times by then.
So let's paint it some more!
This is Revlon Top Speed in Grape - 1 coat. This was the first polish I've tried from the Top Speed line. I'm not impressed. This did not dry as fast as the Sally Hansen Insta-Dri polishes and it was really only dry to touch on the surface since about 5 minutes after painting I gouged one nail pretty badly. The colour is amazing though and for some reason kept photographing blue but this pic is pretty accurate.
I was in a glitter kind of mood so I added one coat of Love My Nails in All That. This was a cheap-ass $1 polish I picked up at a Walmart in the US. It's got tiny green glitter and square purple and silver holo glitter in it. I wish I could capture this better. I like it.
Later
P
Monday, October 24, 2011
O Canadupe?
I don't usually do comparison posts because my camera really sucks but when I saw this polish in the store I just knew I had to do one.
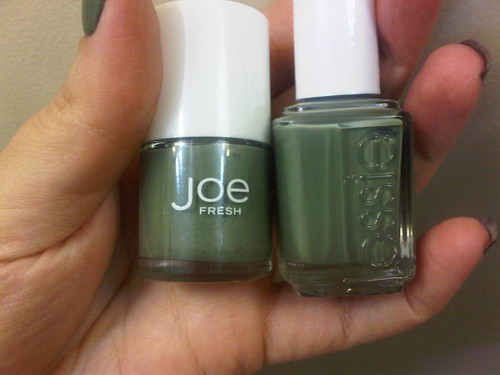
As far as I know, this is the second dupe from Joe. The first one, Peacock, was a dupe for China Glaze's Rodeo Fanatic. And now we have our second one, Khaki, a dupe for Essie's Sew Psyched.
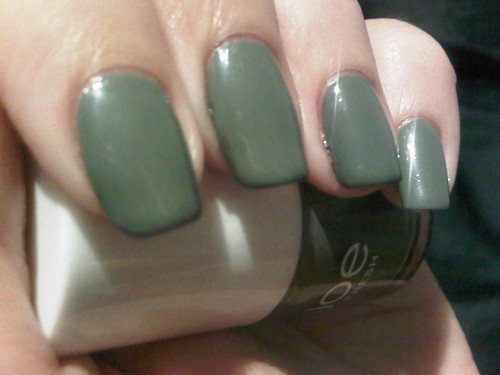
The Essie is on my ring finger (third from left) and the others are all Joe. 2 coats on each finger.
Joe Khaki even has the same subtle shimmer as Sew Psyched. If there is any difference at all I would say that Joe Khaki is just a hint more yellow.
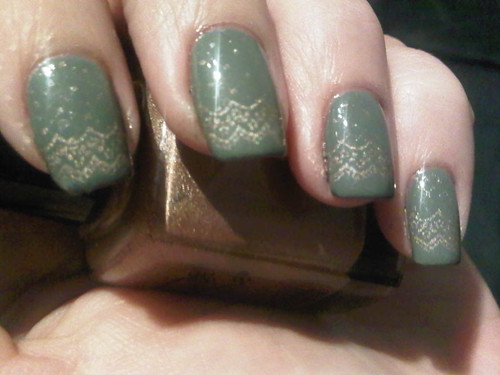
So of course I can't just wear a plain old polish on it's own not matter how awesome it is. I stamped this with Color Club's Love Em Leave Em and Konad plate m71.
So there you have it, clearly a dupe. I hope to see more of these from Joe in the future.
Later
P
As far as I know, this is the second dupe from Joe. The first one, Peacock, was a dupe for China Glaze's Rodeo Fanatic. And now we have our second one, Khaki, a dupe for Essie's Sew Psyched.
The Essie is on my ring finger (third from left) and the others are all Joe. 2 coats on each finger.
Joe Khaki even has the same subtle shimmer as Sew Psyched. If there is any difference at all I would say that Joe Khaki is just a hint more yellow.
So of course I can't just wear a plain old polish on it's own not matter how awesome it is. I stamped this with Color Club's Love Em Leave Em and Konad plate m71.
So there you have it, clearly a dupe. I hope to see more of these from Joe in the future.
Later
P
Friday, October 21, 2011
Fishnet stamping
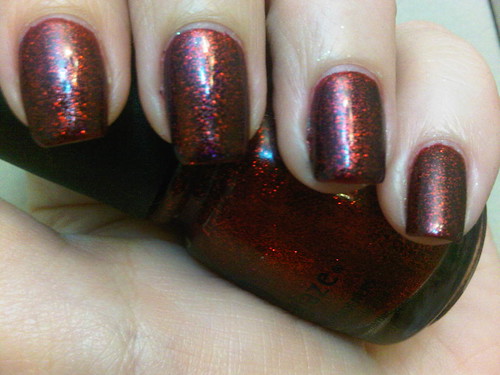
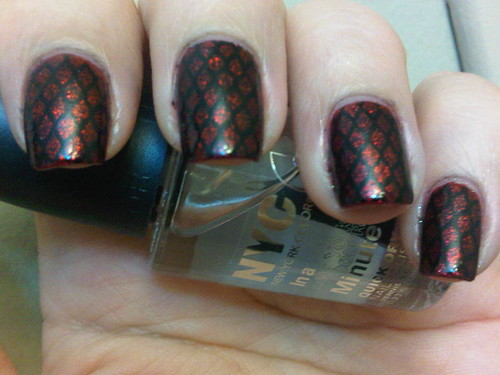
So I'm still rocking the Shellac/Gelish combo but I removed the stamping. I added one coat of China Glaze Ruby Pumps and although I couldn't quite capture it here, it looks amazing! The green sparkle underneath adds crazy depth to it and I love it. What I don't love is that this solitary coat of Ruby Pumps ate top coat like you wouldn't believe!
So I added a stamp to it. I used image plate BM209. I also tried 4 different black polishes with this image and the only one that actually picked up the whole image properly was my good old Konad Black. I guess sometimes there is really no substitute. I was having a love/hate relationship with this mani. Sometimes when I looked at it I was reminded of Spiderman and then I didn't love it so much.
So just to avoid any confusion I figured a heart shaped stamp would confirm that this was definitely NOT a Spiderman manicure. I used Color Club's Antiquated from the new Foiled collection and konad plate m18. Maybe I should have saved this one for Valentine's Day?
Later
P
Subscribe to:
Posts (Atom)